A Newbie Guide to Building The Planck, a 40% Ortholinear Mechanical Keyboard
I just got a Planck keyboard. The assembly wasn’t too complicated (there are great videos on YouTube), but the research process and the decisions to be made were a bit overwhelming for somebody not familiar with mechanical keyboards. Here is all the info I put together as I was getting into the small keyboard layouts.
I had been considering a new keyboard and looking to try a mechanical keyboard for the first time. I particularly liked the Keychron mechanical keyboard, specially the smaller profiles like the 65% Keychron K7 or K6.
Researching teh 65% keyboards I came across the XD75. The device looked amazing, it had a set of black on white caps with red accent caps, but what got my attention most is that all keys were laid out in a perfect matrix. I had discovered the world of ortholinear mechanical keyboards.
After a bit more digging, I came to the conclusion that my next keyboard was going to be a 40% ortholinear keyboard, the Planck to be more exact. The Planck was created by Jack Humbert who made the matrix layout popular among keyboard enthusiasts.
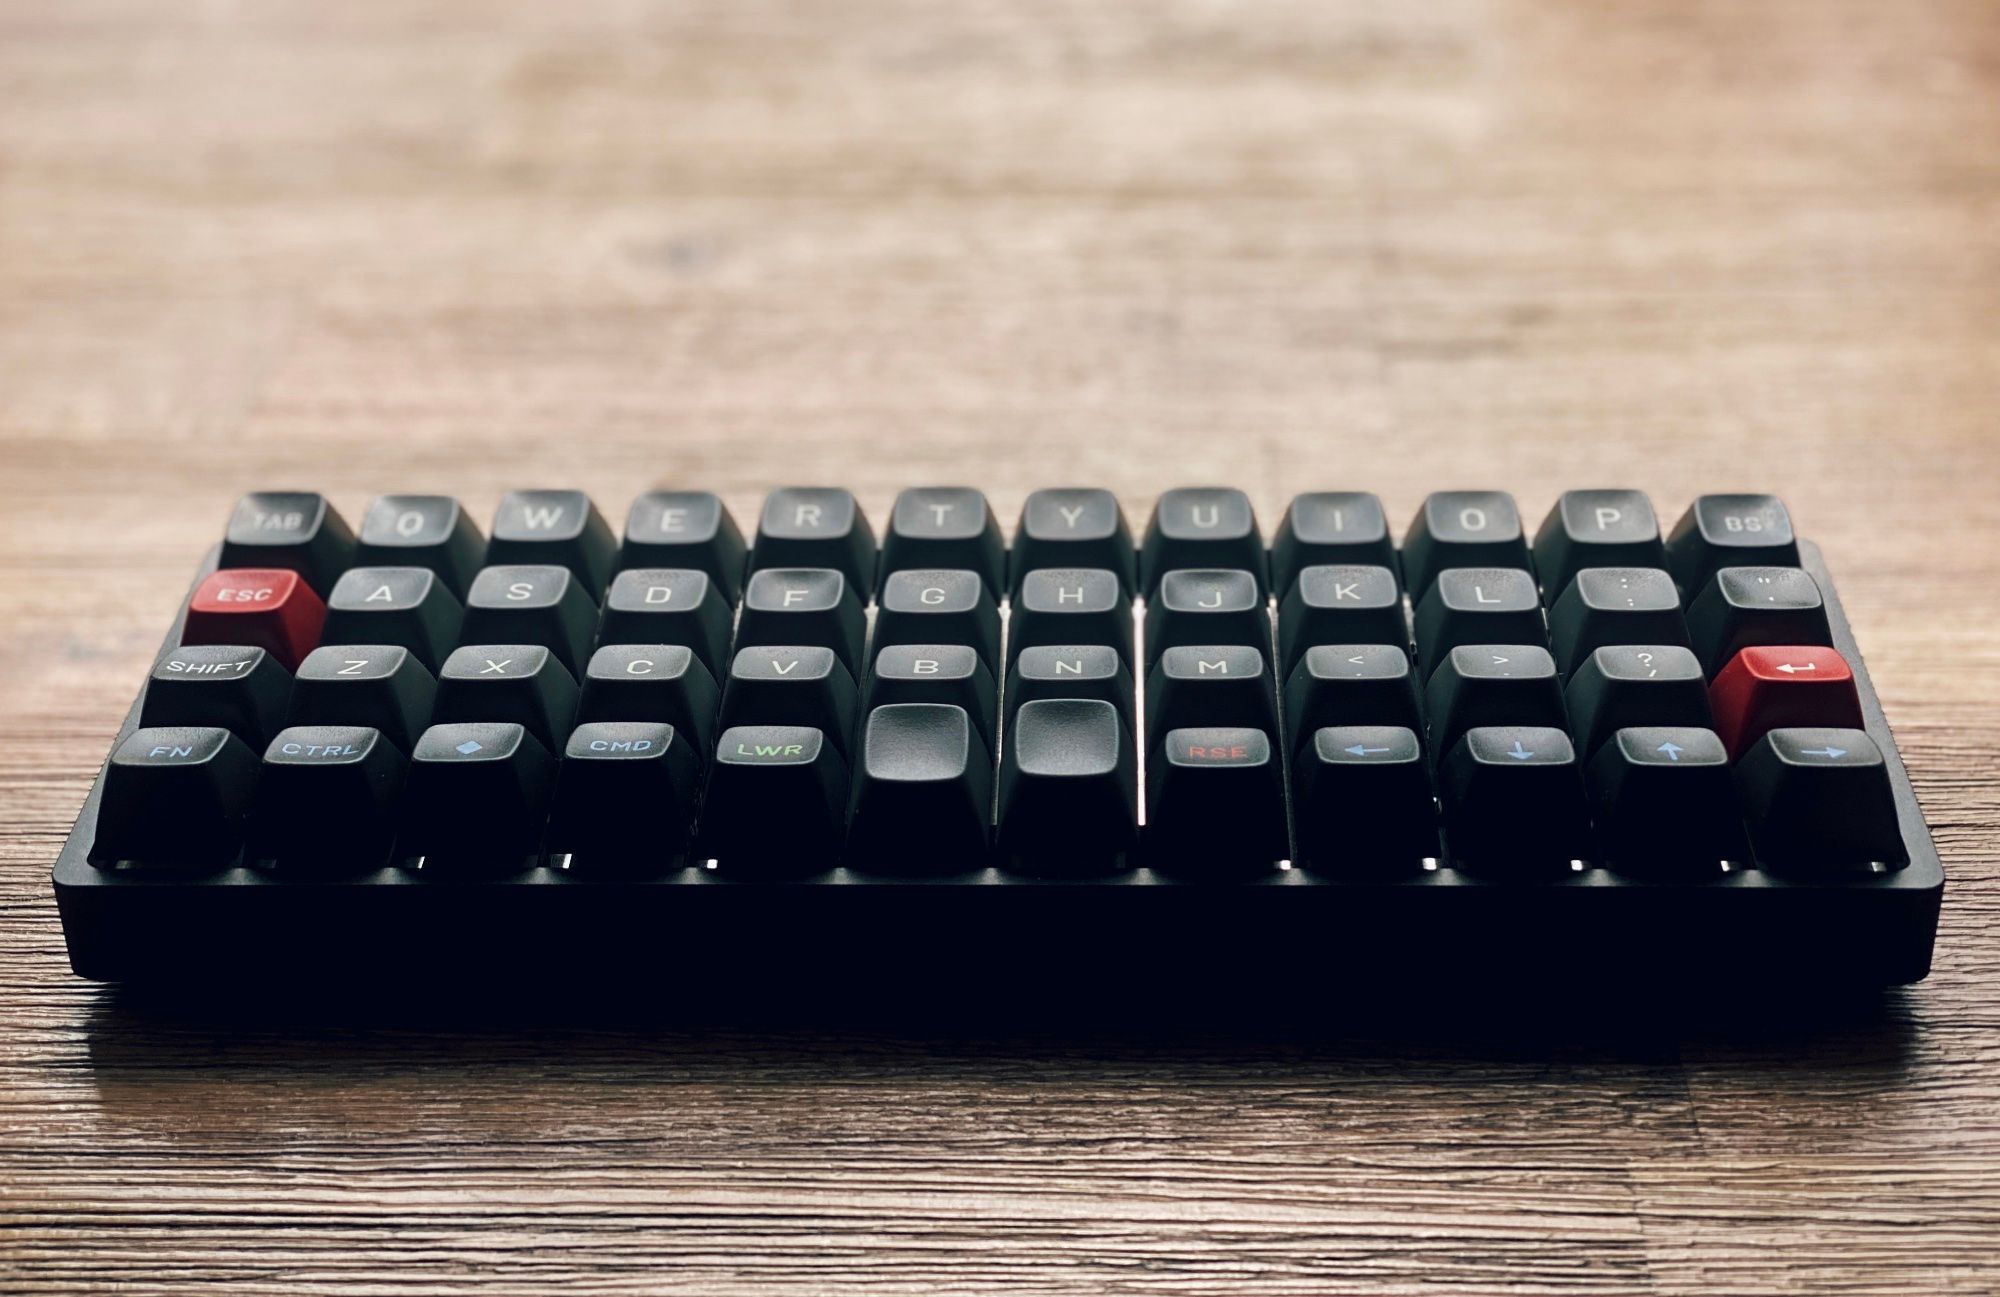
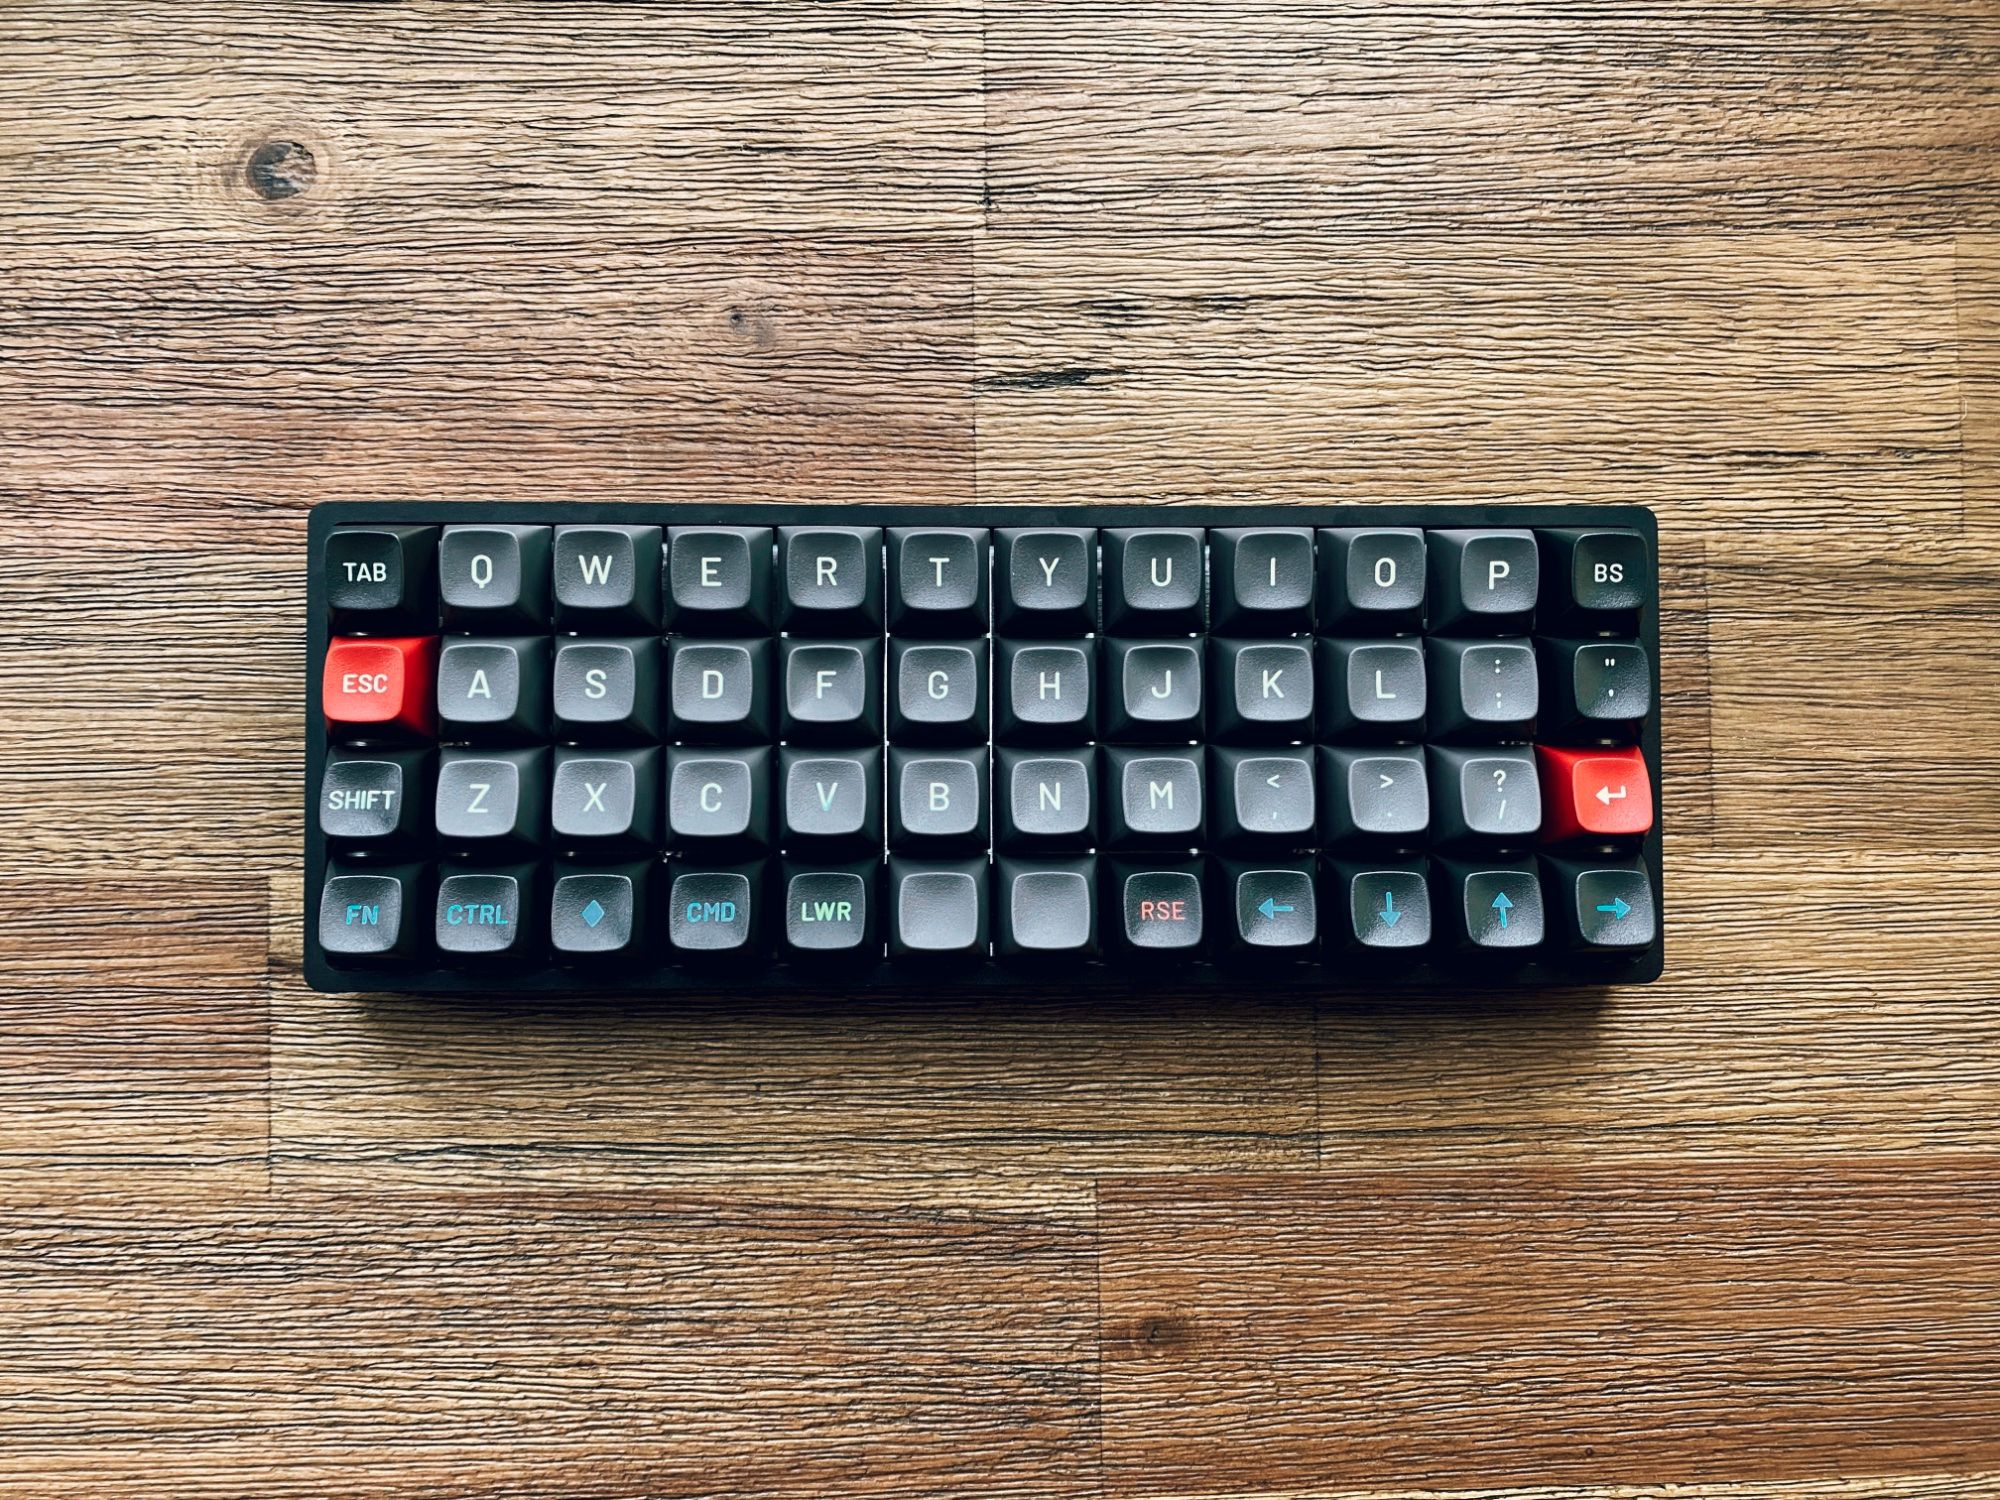
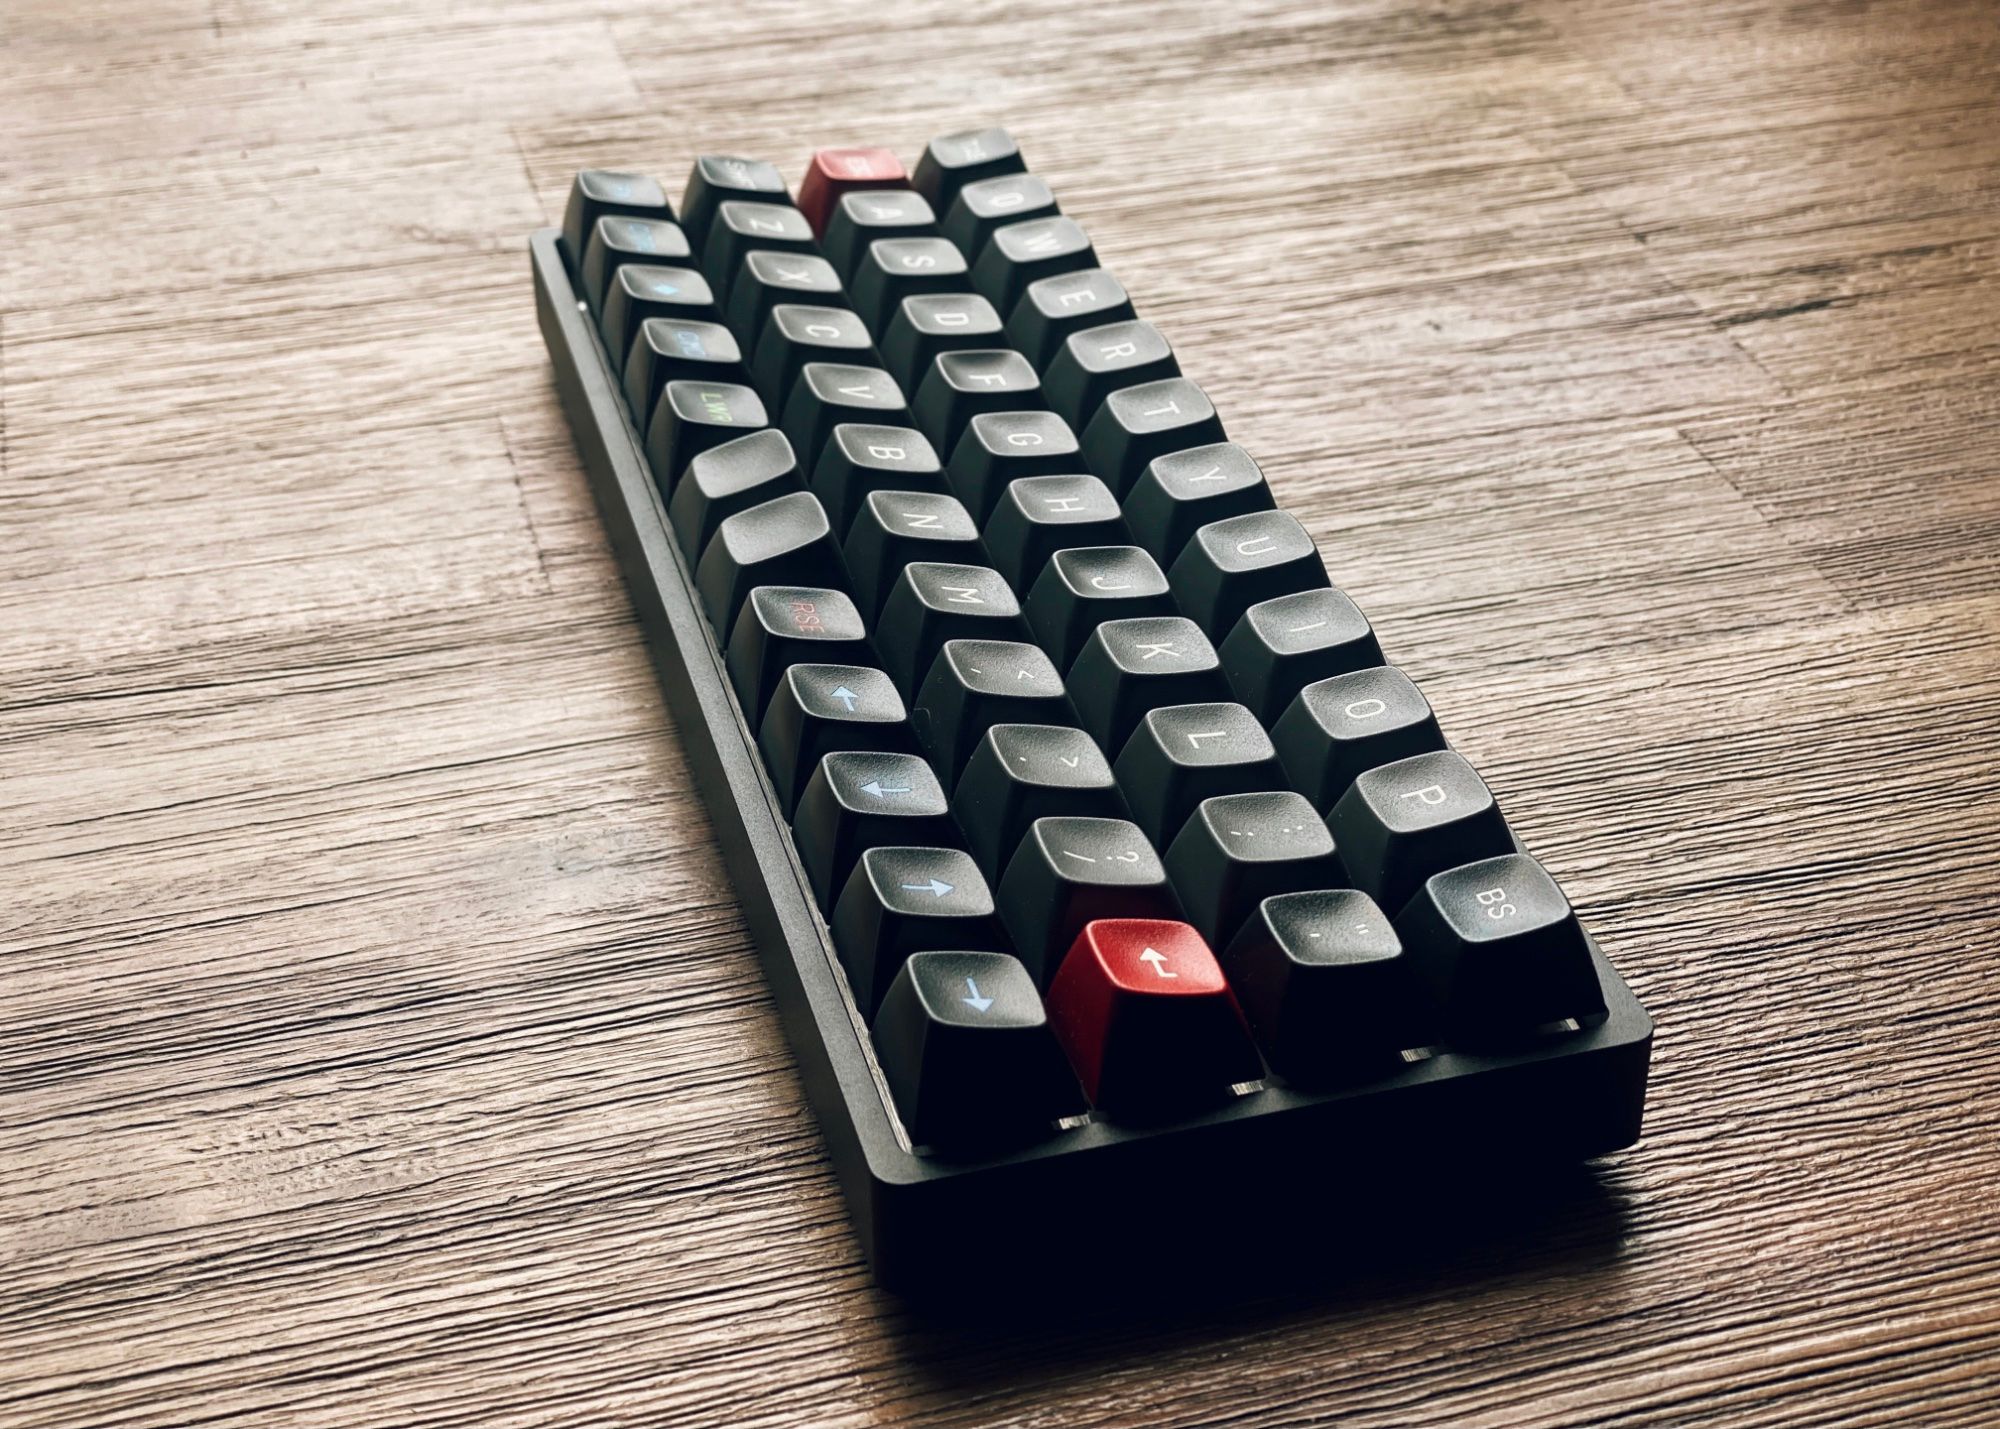
The Planck is a small beauty that echoes old typewriters, NASA control stations, vintage control panels and a sense of order and knolling. The keyboard can be easily customized with a series of visual keymap configurators like QMK, Via or Vial.
40%? why? just why?
There are two reasons to go with a smaller 40% or 50% keyboard.
- Because you are attracted by weird layouts and are curious about what the experience would be like.
or
- Because you believe the promise of more ergonomic typing by reducing the number of keys and relying in key combinations instead of moving your hands around.
Honestly, any reason is good enough. For me, that ortholinear layout hits my compulsive sensibility.
Buying the stuff (decisions, decisions)
Honestly the Plank EZ is probably the best choice for most people looking to try a 40% ortholinear keyboard. It comes pre-built and it even comes with RGB backlight per key, something other Plancks lack. However, I really wanted a layout with two 1u space bars, and the EZ doesn’t support it.
If you are ok assembling your own plank, we have to make a few decisions and buy a few parts.
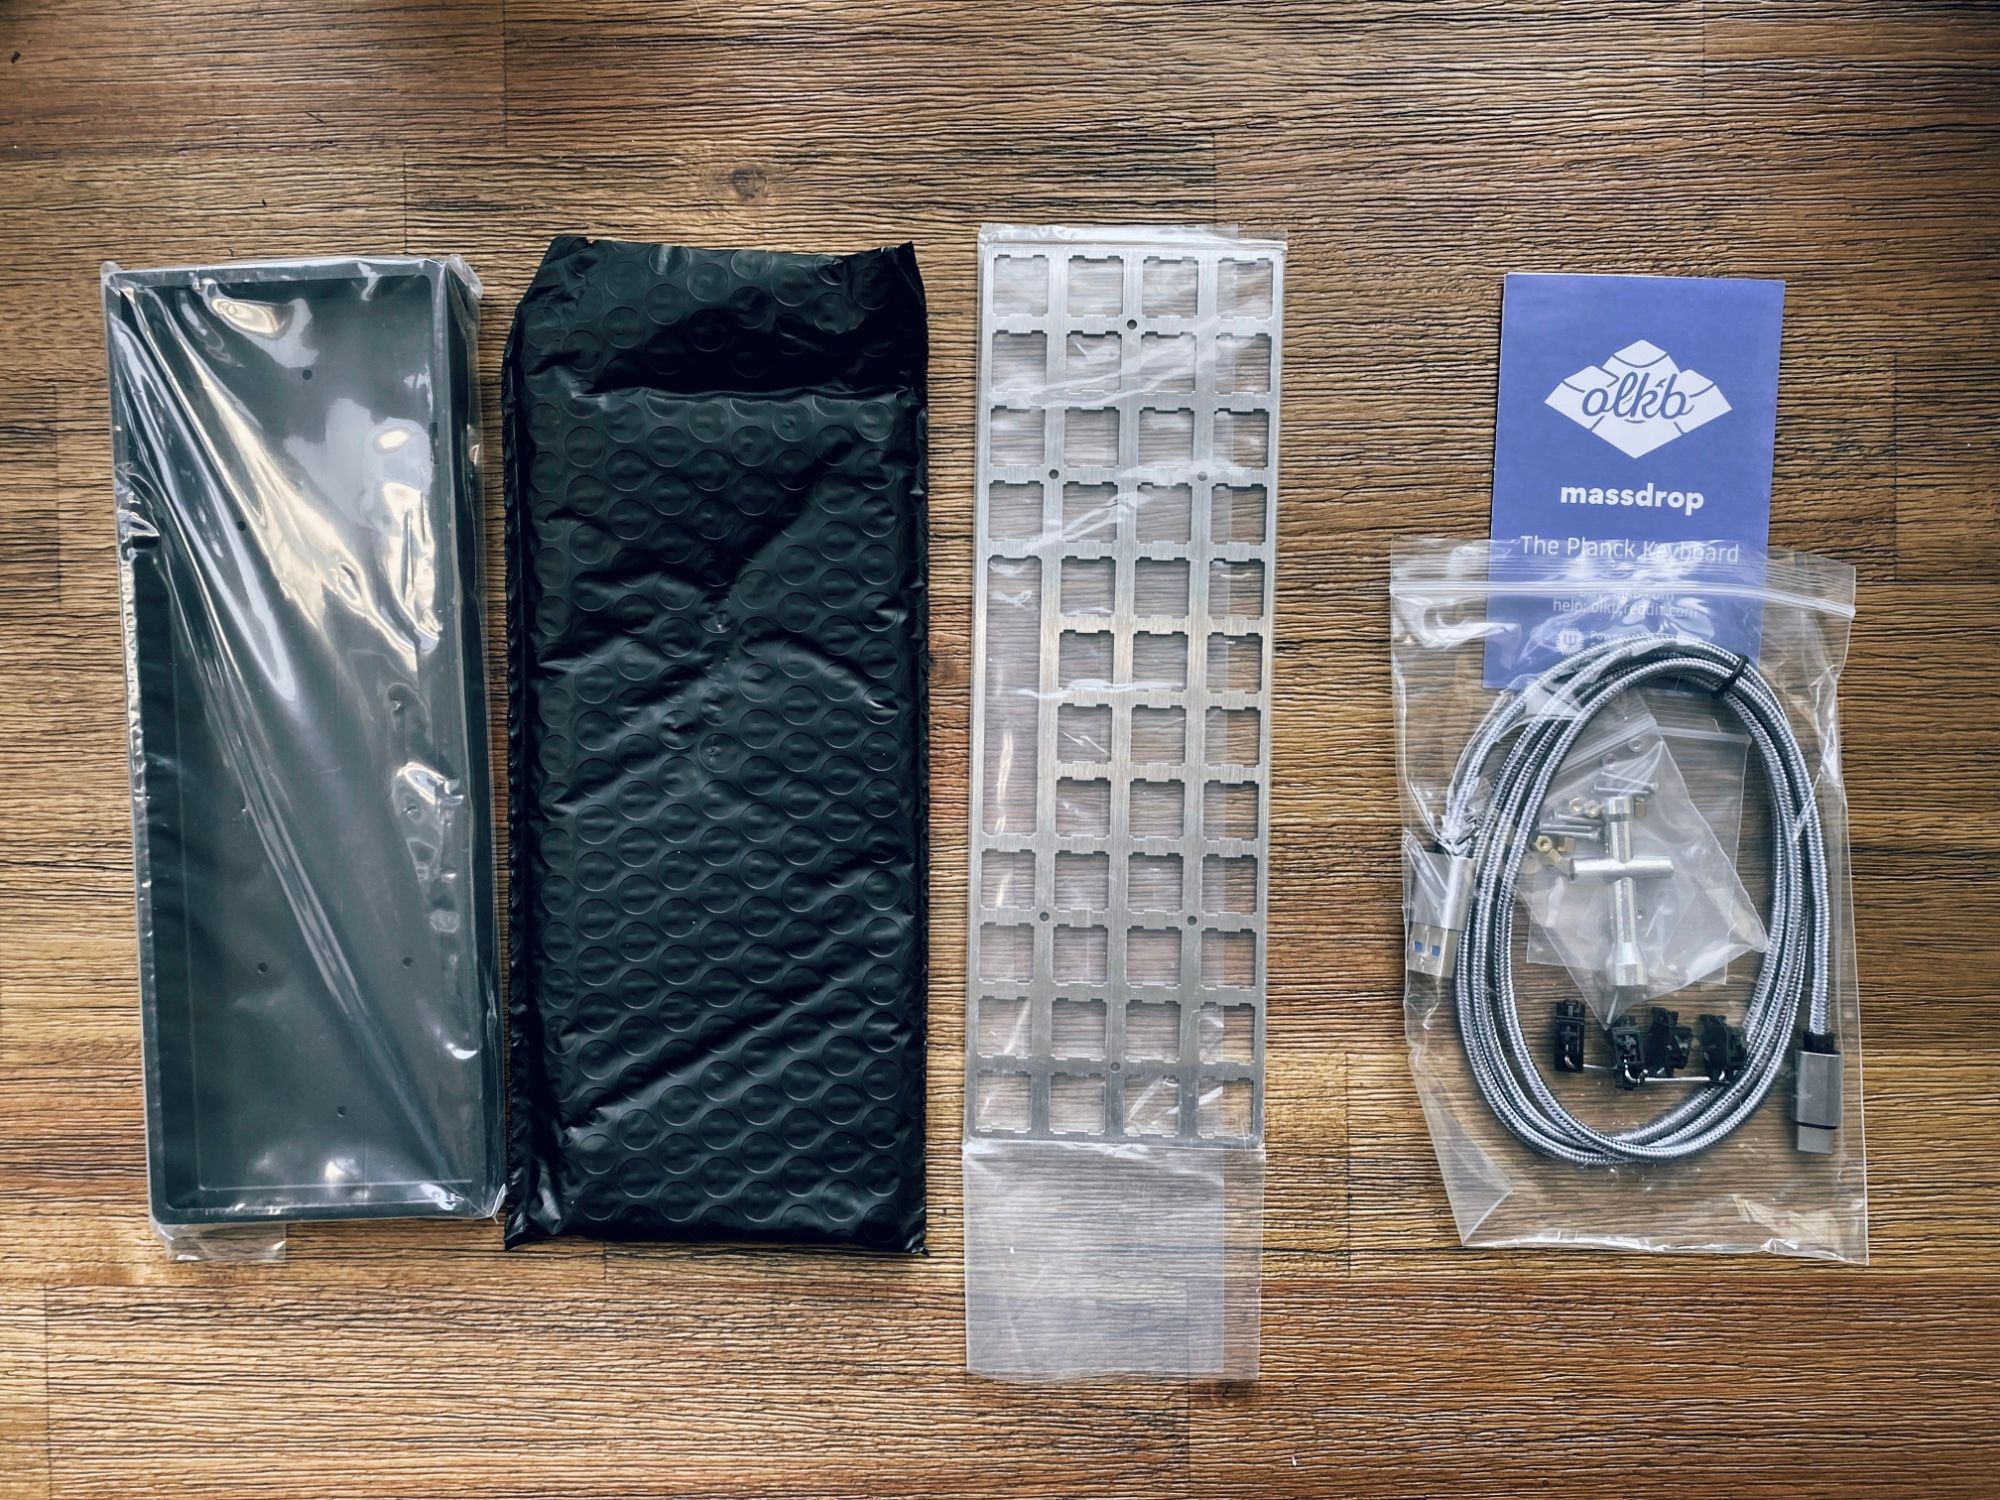
1. The Planck Kit
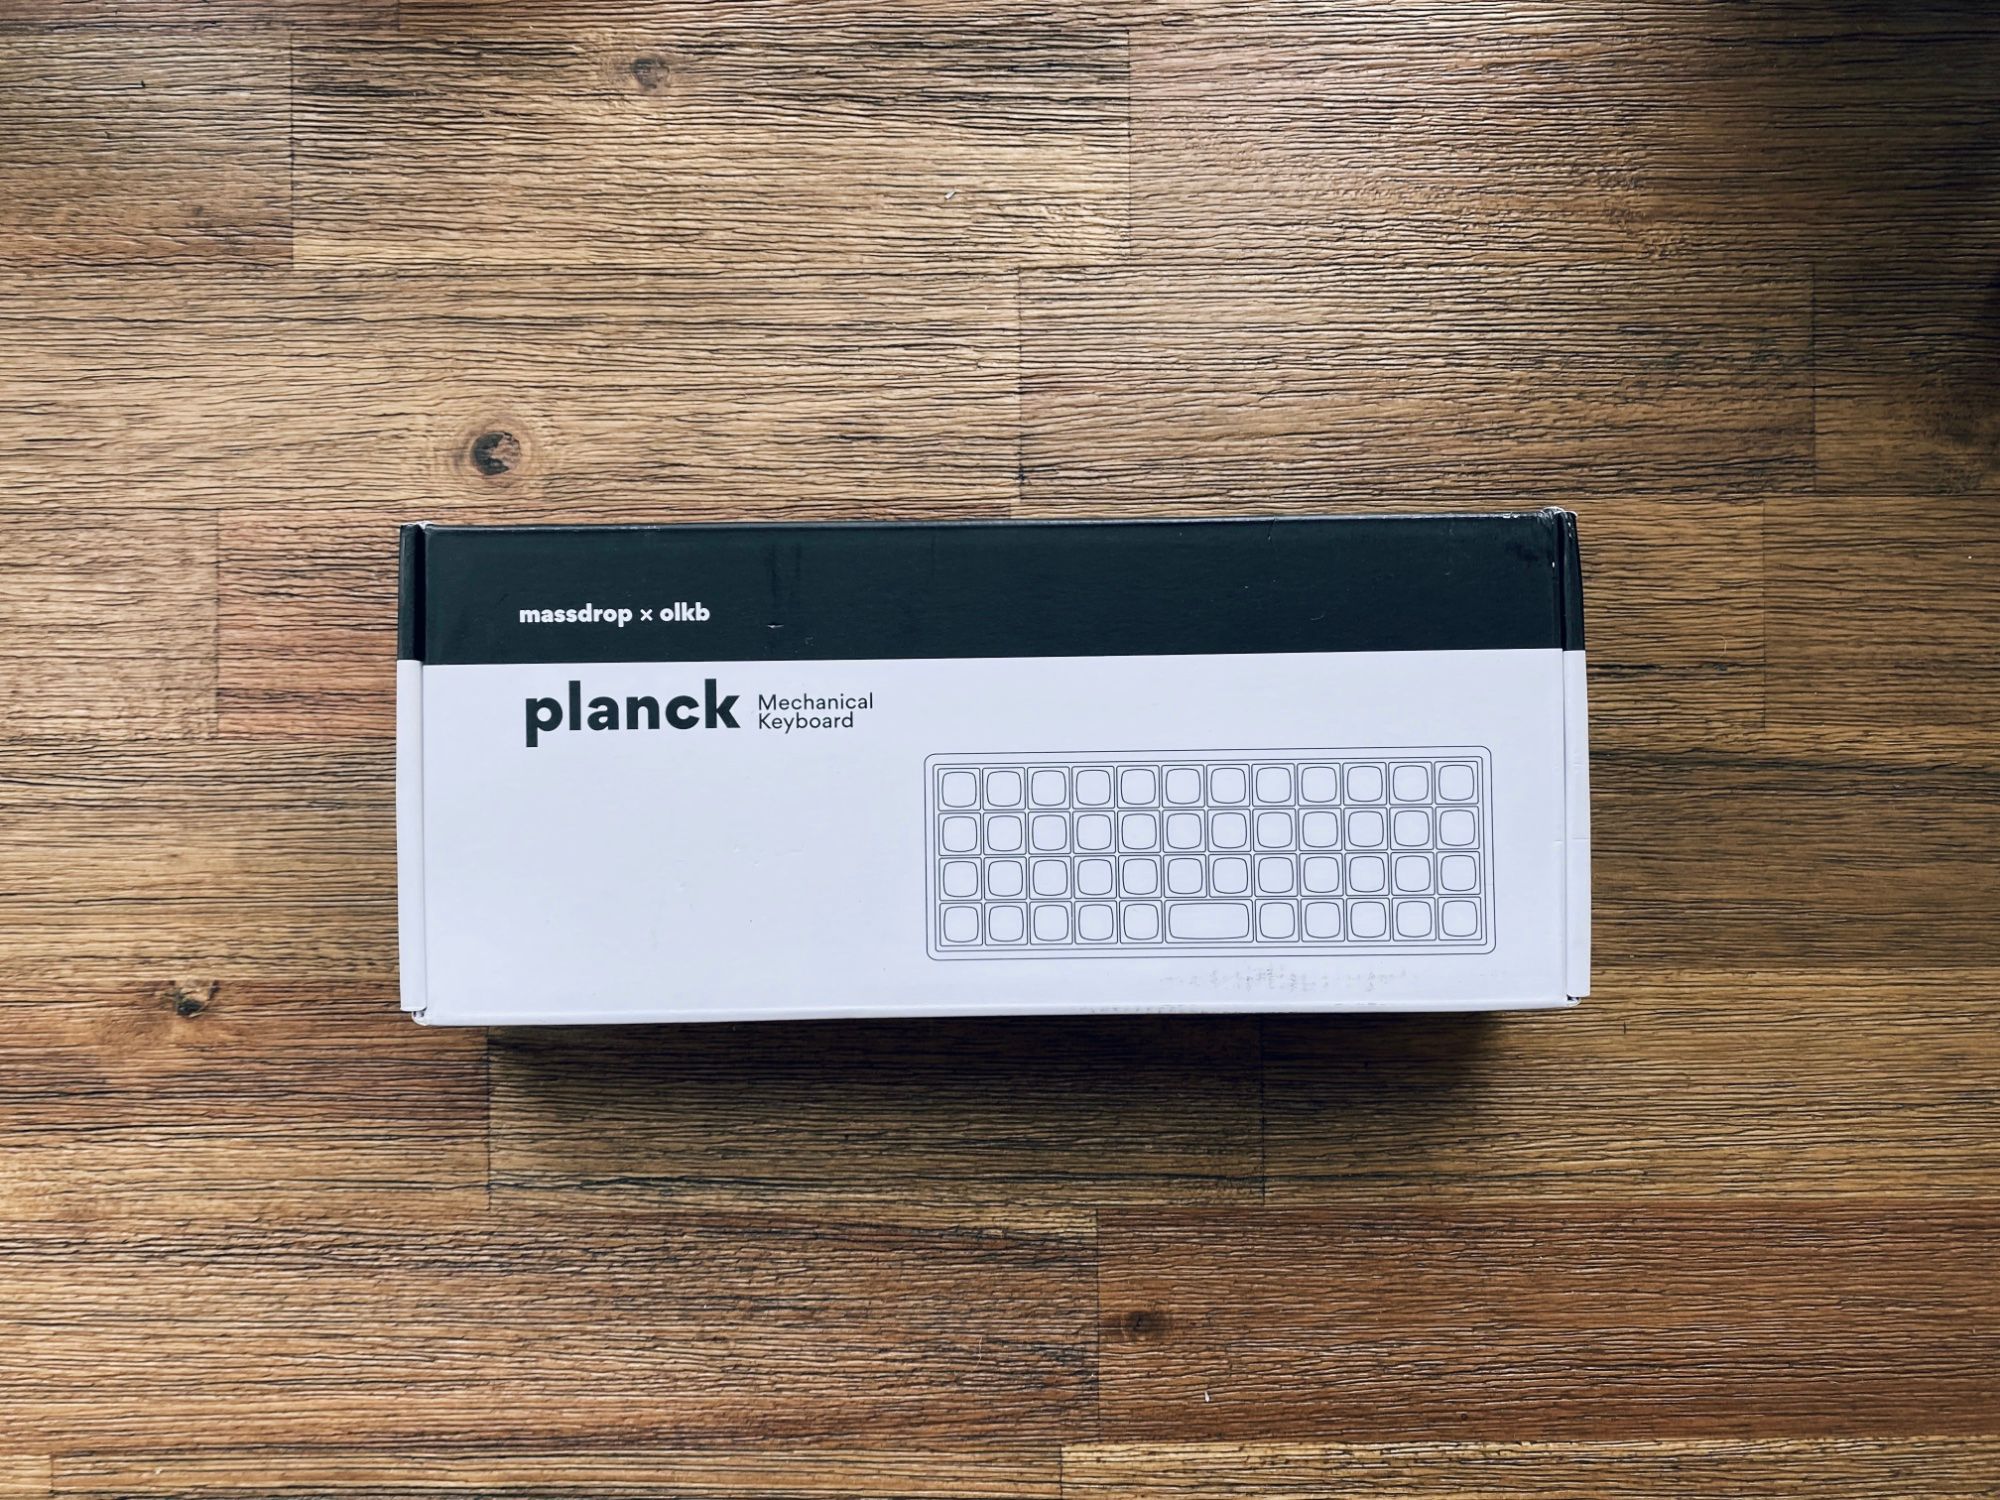
The nice thing about the OLKB Planck Kit v6 is that is hot-swappable so there’s no soldiering needed, and requires no more experience than knowing how to use a screwdriver.
It does not have RGB, but supports 3 different layouts for the space bar. It uses MX-Style switches (no soldering needed!) The Planck also supports QMK firmware, which allows for all kinds of customizations for keyboards.
2. Switches

Switches come in three top categories: Linear, Tactile and Clicky.
- Linears are smooth and quiet.
- Tactiles are bumpy and quiet.
- and finally Clicky are bumpy and loud.

The default switch in many configurations is the Cherry MX brown (linear), although it seems to be out of favor these days. I went for the Drop Holy Pandas, which are considered a step up.
3. Keycaps
Keycaps, just like switches, are entirely a matter of preference. The only limitation for our Planck is that it uses Cherry connector style caps (it looks like a +), which is pretty the gold standard.
A few key aspects to consider when picking up keycaps:
- Material: The most common are ABS and PBT. ABS is the most common and affordable material. It is what Lego is made out of. PBT is a longer lasting material that has a rougher texture compared to the slick feel of ABS.
- Profile: Many profiles to choose from. Above all you would have to pick between sculpted profiles or regular. In my opinion, for an ortholinear keyboard the most important thing to consider is if you want they key profiles to be constant across rows (XDS, DSA, etc`) or not (SA, KAT, Cherry, etc).
- Lettering: If you really want to over think it, you might want to consider if you want sublimated (letter are printed on the cap) or double-shot (where the letters are made out of plastic layer.) Two-shot is considered higher quality.
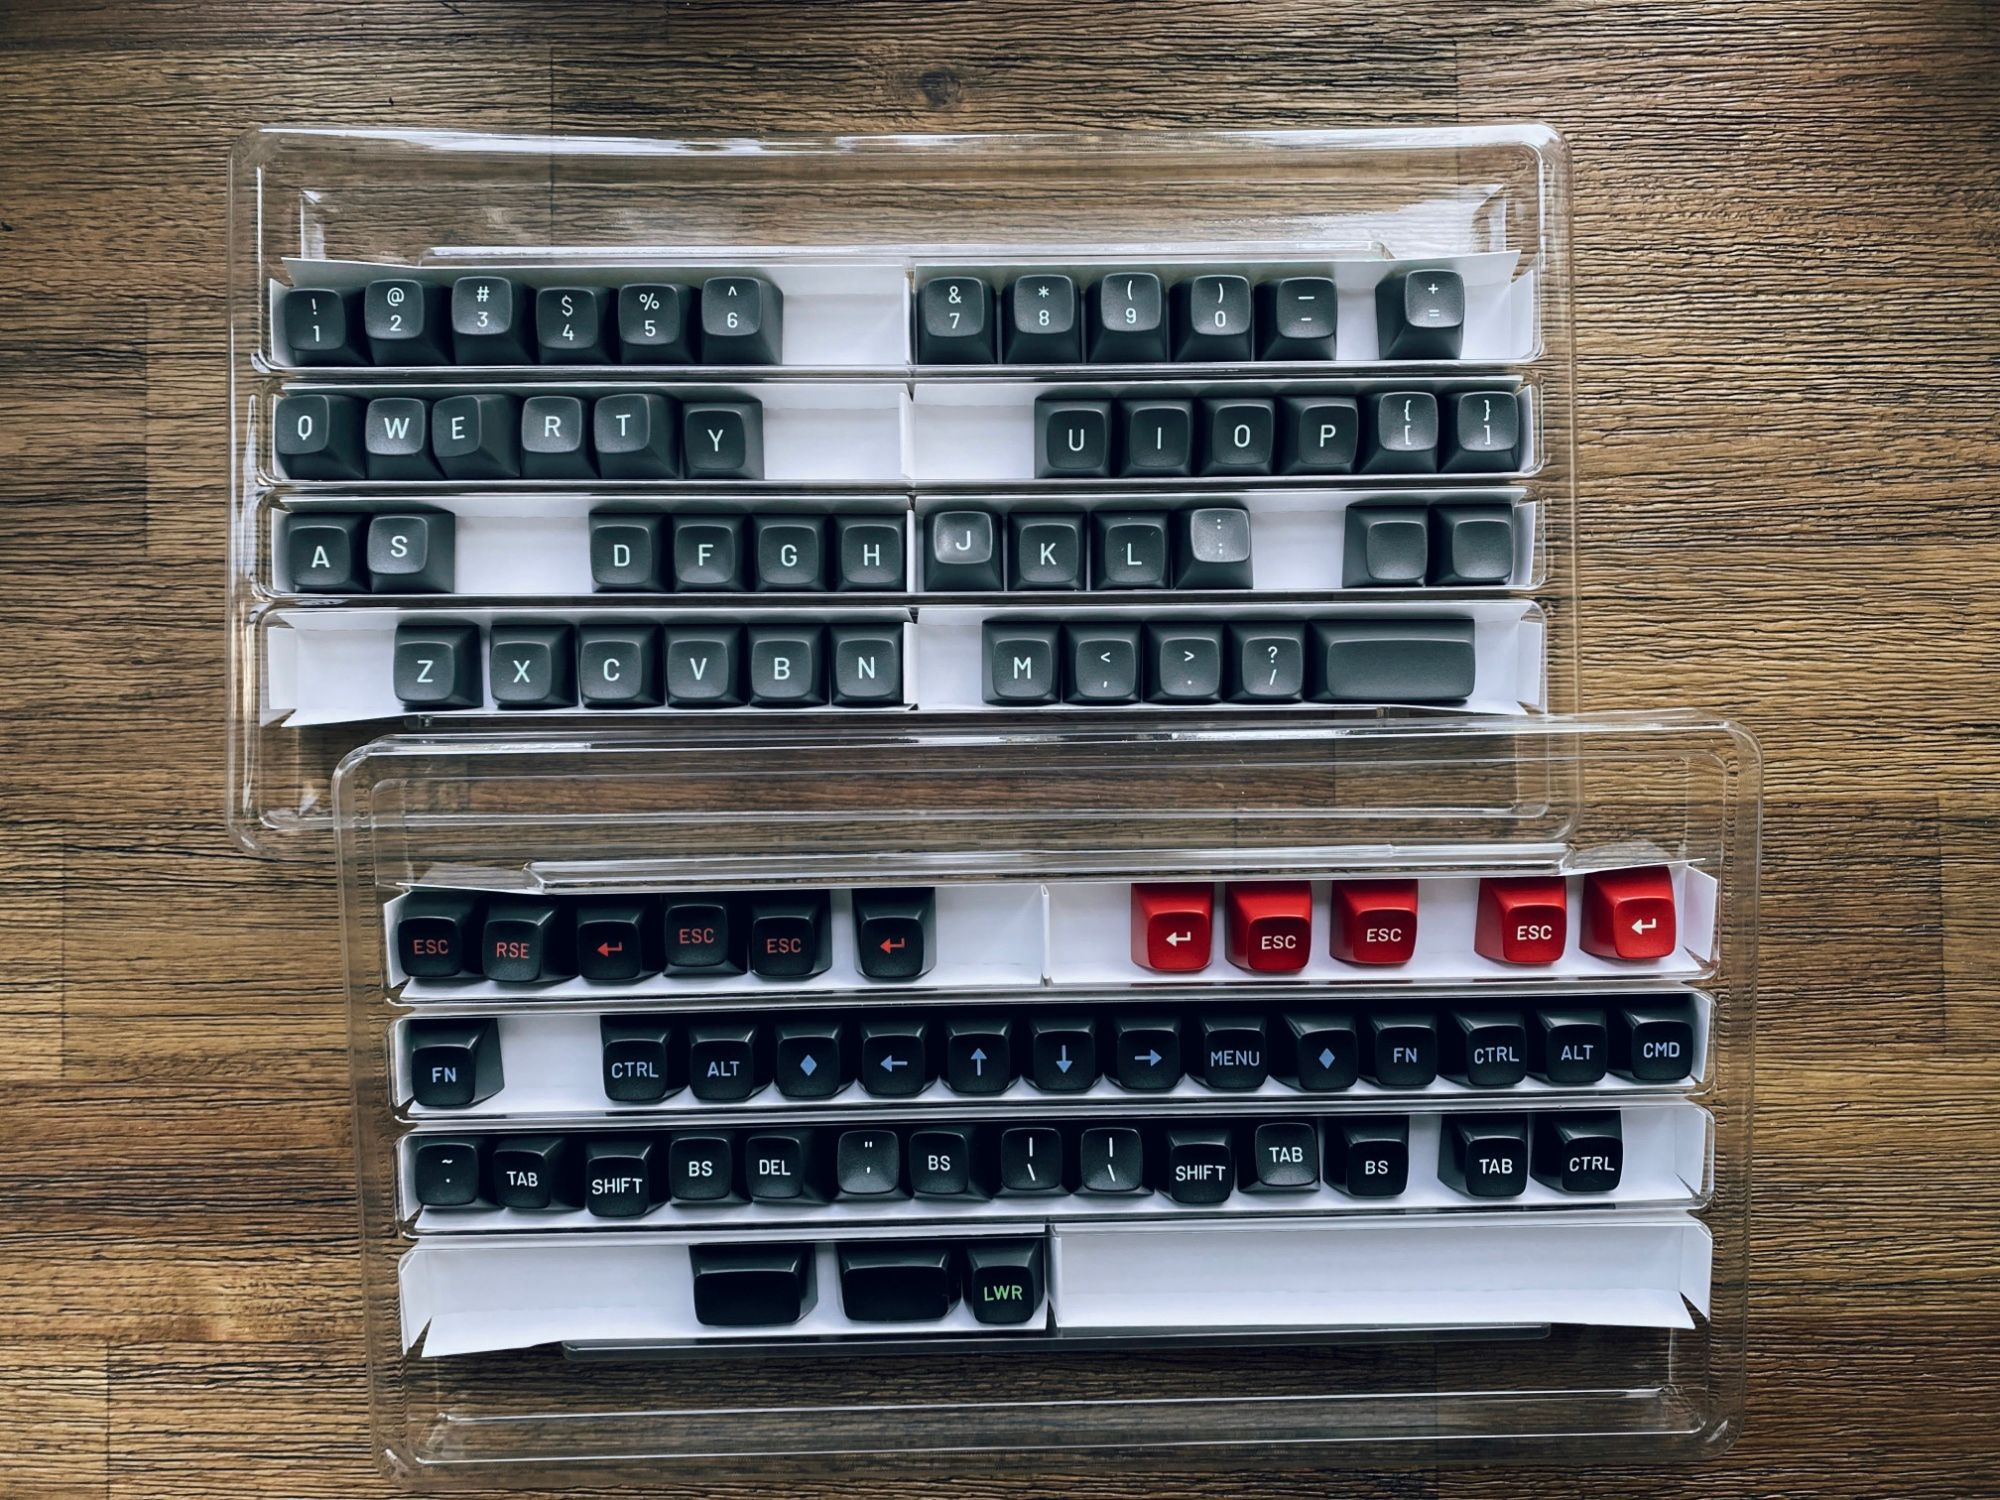
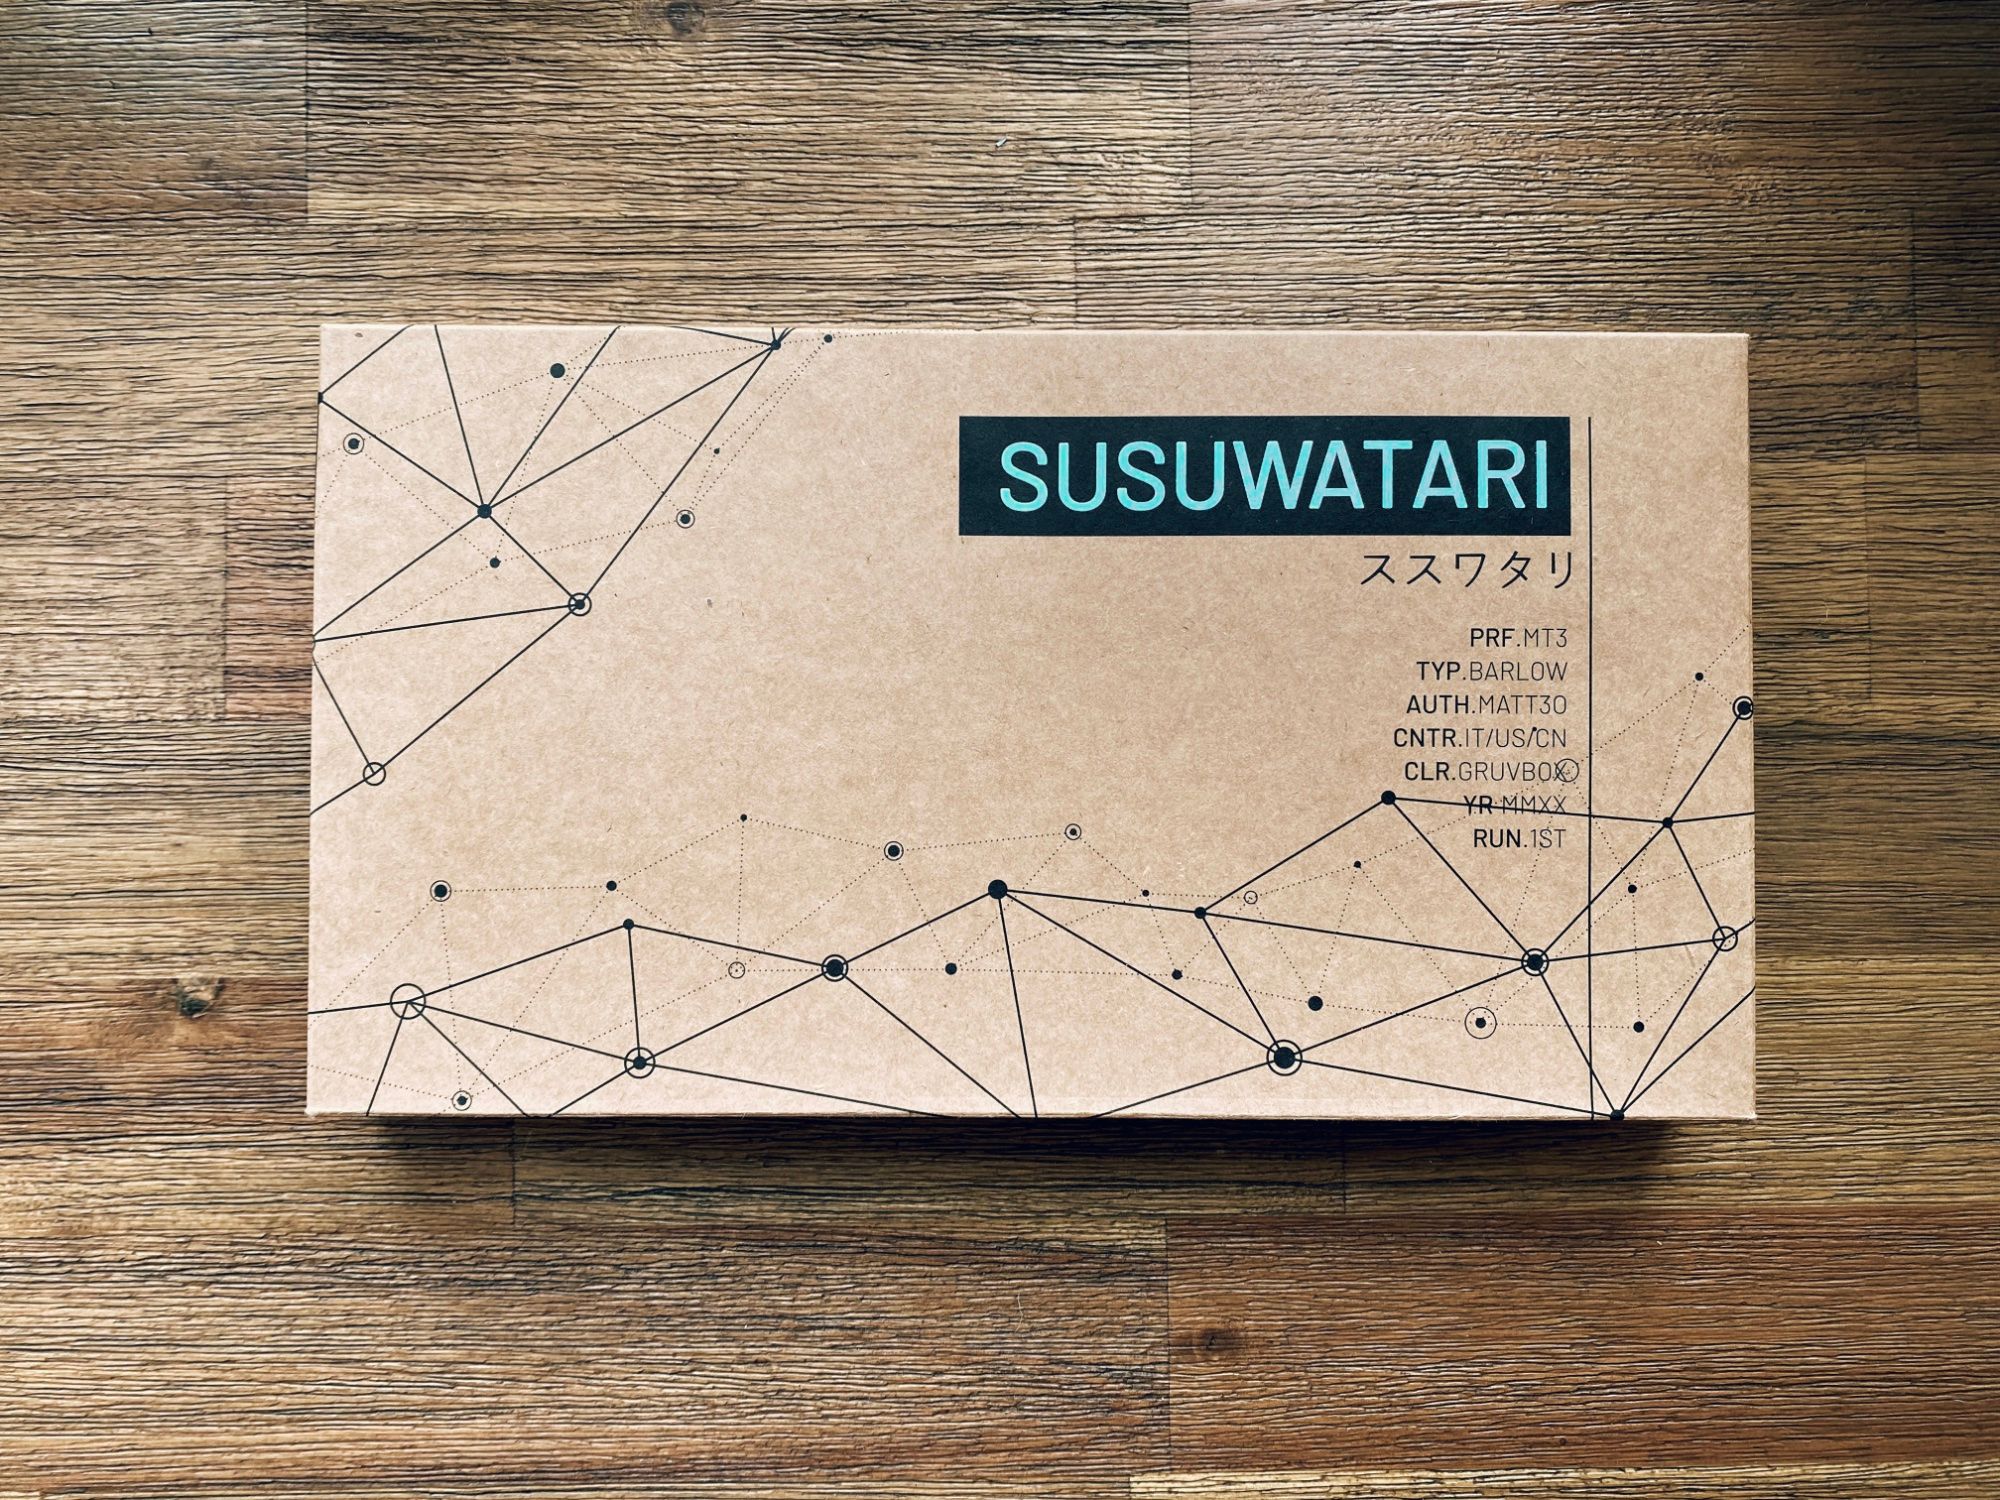
I ended up going with the MT3 Susuwatari. They keycaps look beautiful, but when I order them I had not learnt yet about all the different profile, and particularly about the MT3.
4. Accessories
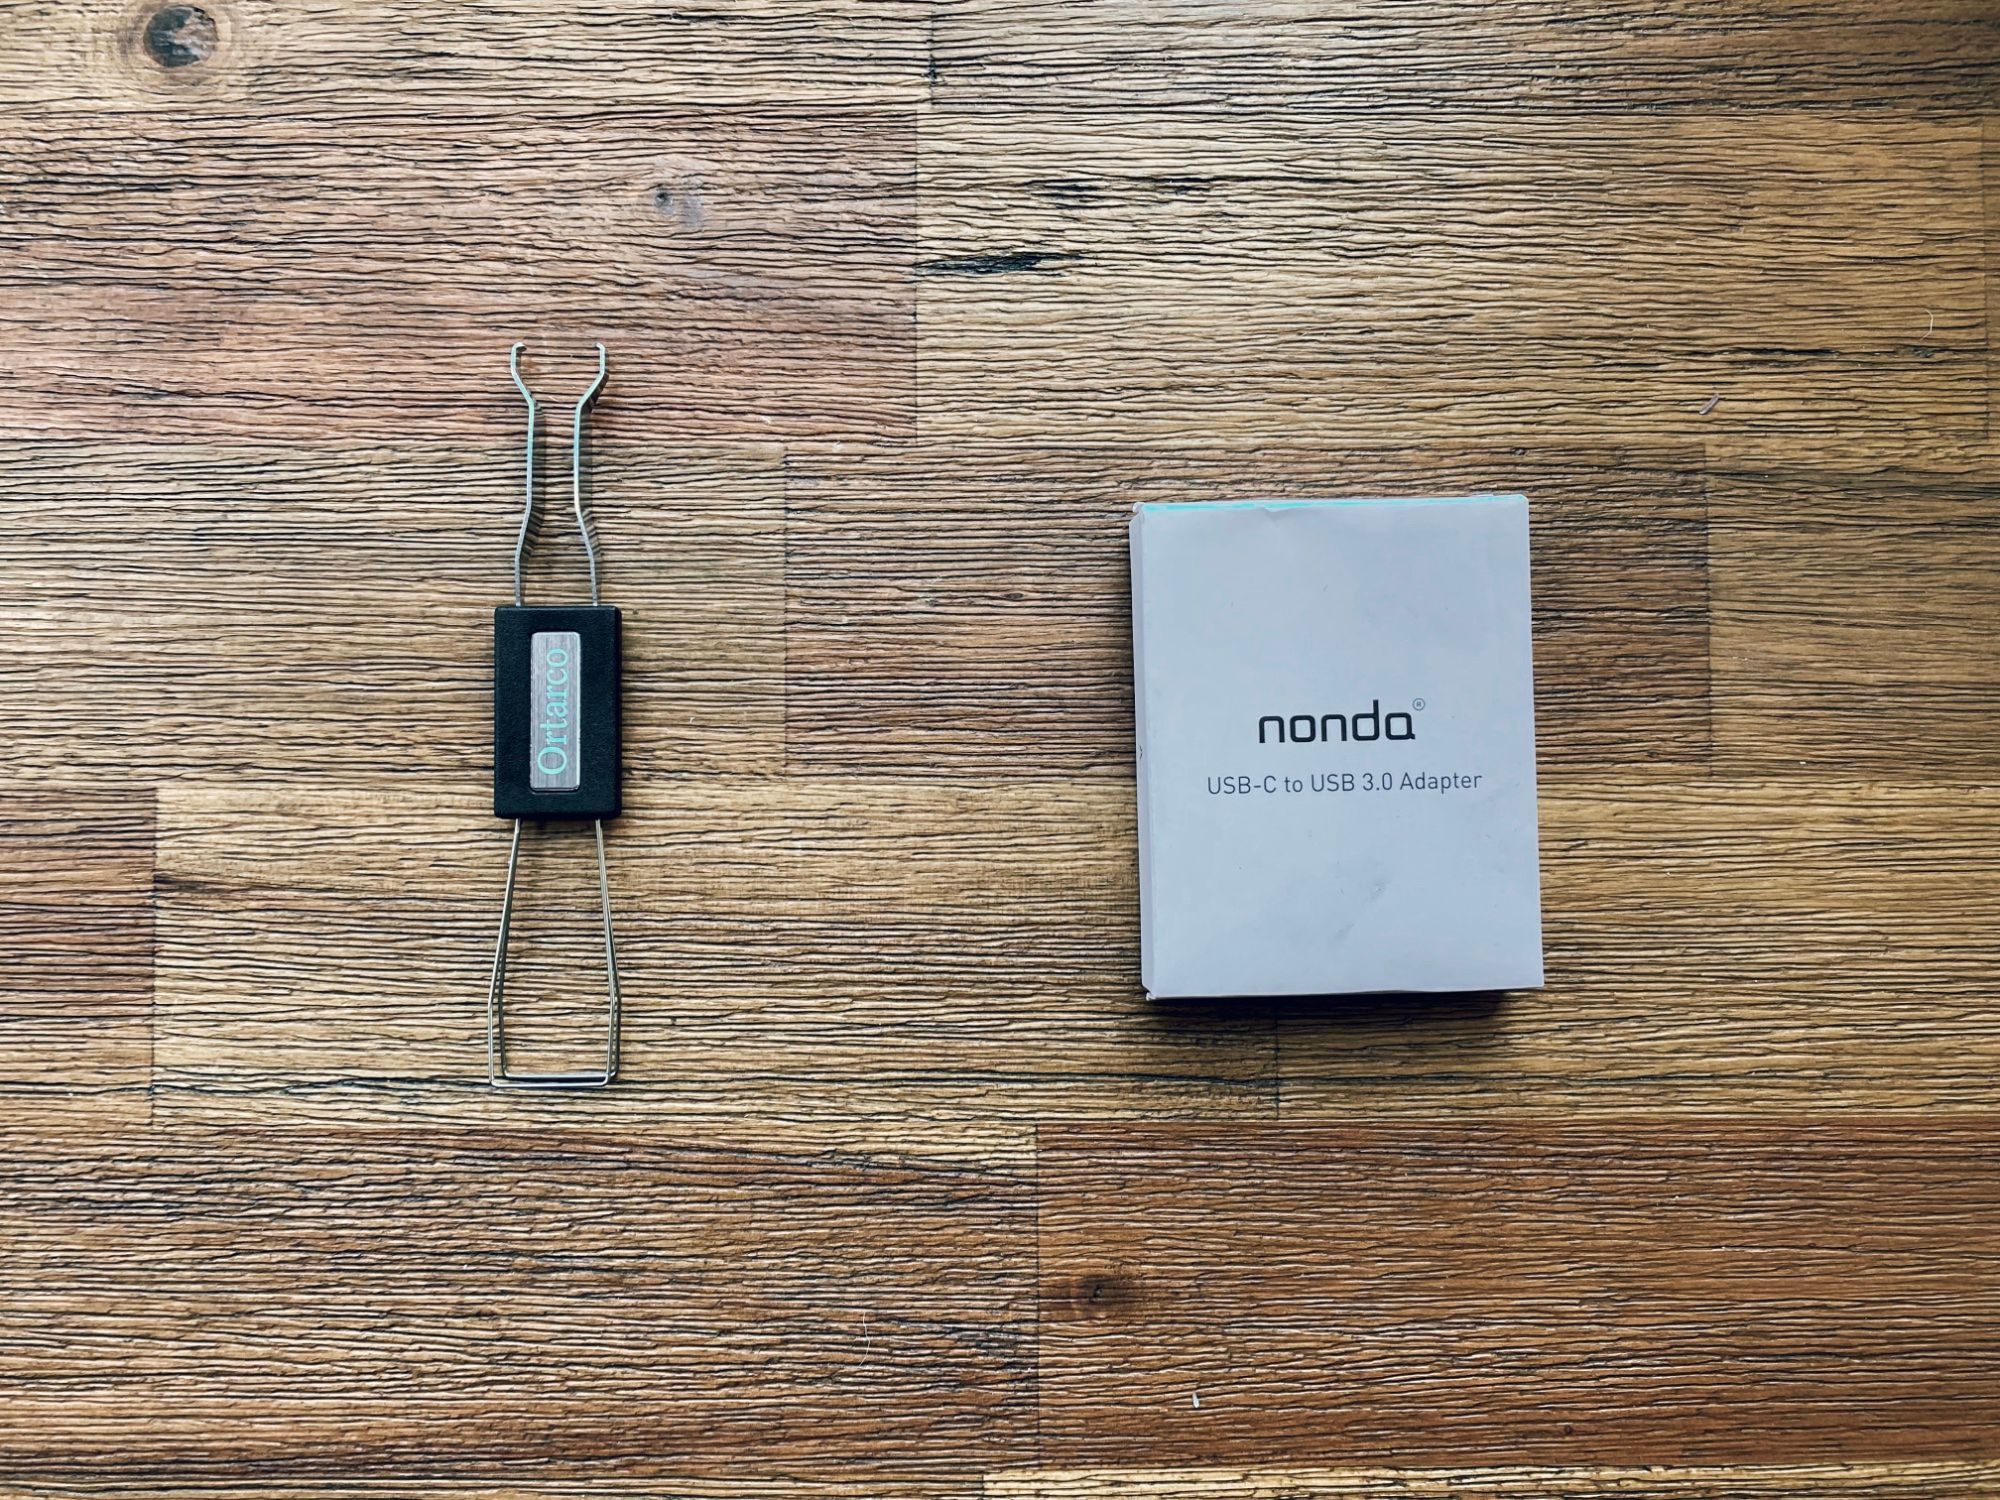
- USB-C adapter: Most of the keyboard cables are USB-C to USB-A. For my 2020 MacBook Air I had to rely on a USB-A to USB-C adapter or a USB-C to USB-C cable.
- Keycap and switch remover: Maybe this is obvious if you know what you are doing, but if you are a newbie like me you better not forget to buy one.
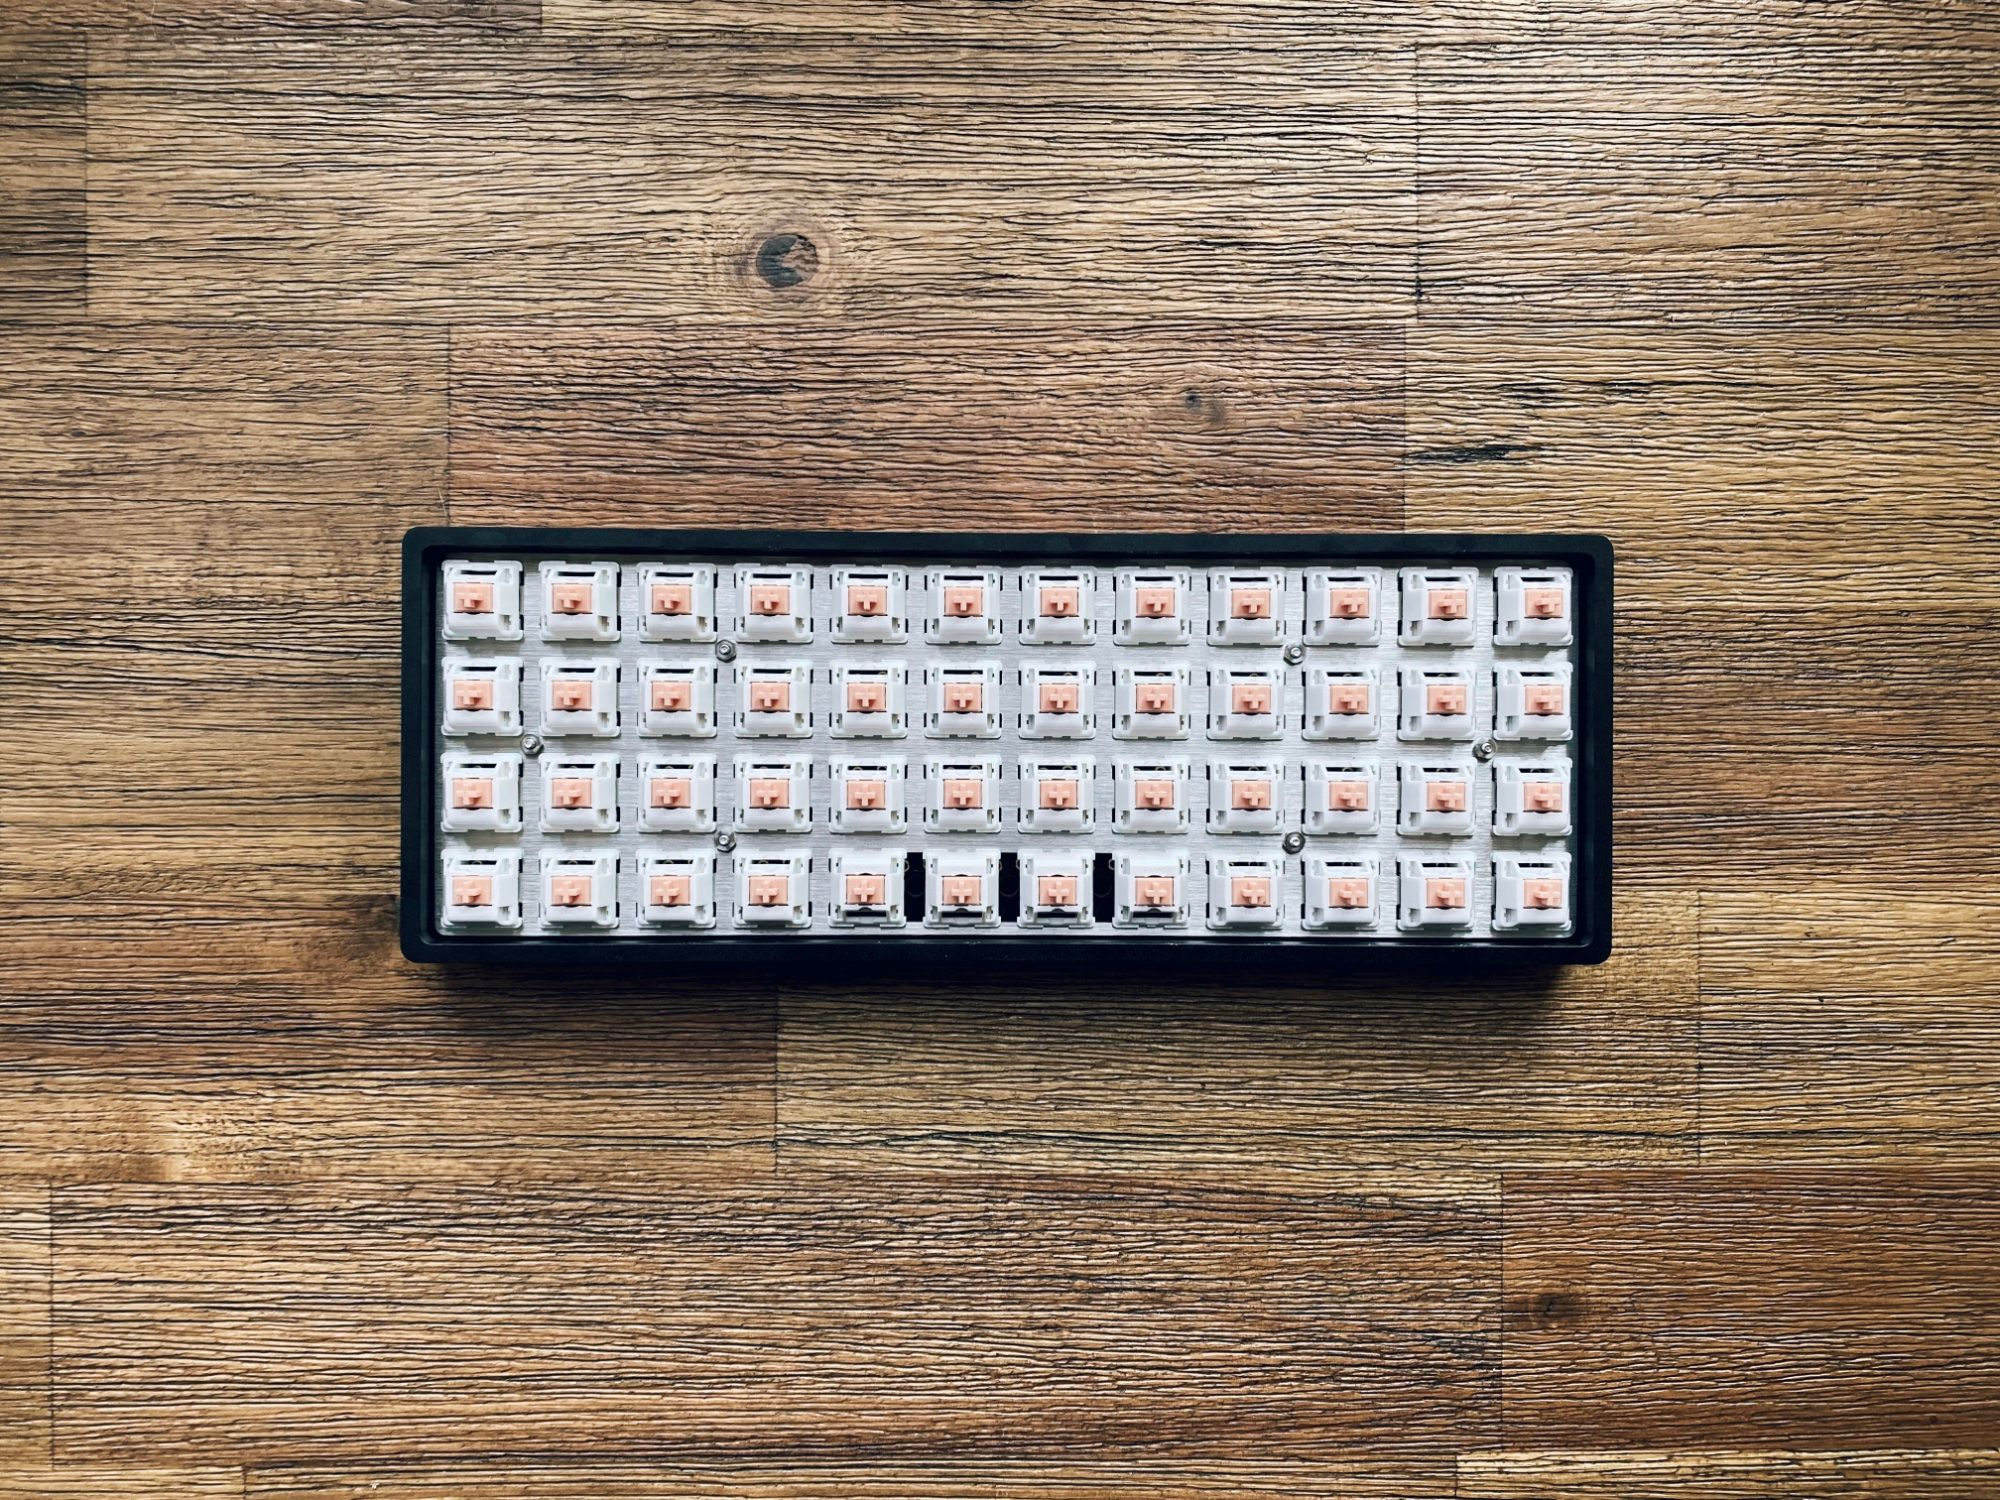
Building the keyboard
The whole process of building the keyboard took about an hour. I followed the instructions on the Drop + OLKB Planck Keyboard V6 Build Guide.

Something I struggled with was the bending of the plate. There are two ways to mount the plate. “Strong hold”, that uses brass nut between the board and the plate, or “floating” that does without.
I mounted it “floating” style to keep things simple. The plate bended down, to the point that I could’t fit the switches between the plate and the board. After removing the plate, I realized I had put too much pressure of the bolts. The recommendation is to set 4 switches on the corners but I opted to add a few more in the center to prevent the bending before screwing the plate back again. That did the trick.
It was pretty straightforward even for somebody with zero experience. You can probably put together the keyboard in 15-20 minutes, but it took me an hour. Being my first build I kept double checking my steps.
Connecting the keyboard
As soon as I connected the keyboard it emitted a gameboy-like sound. That could only have be a good sign, right?
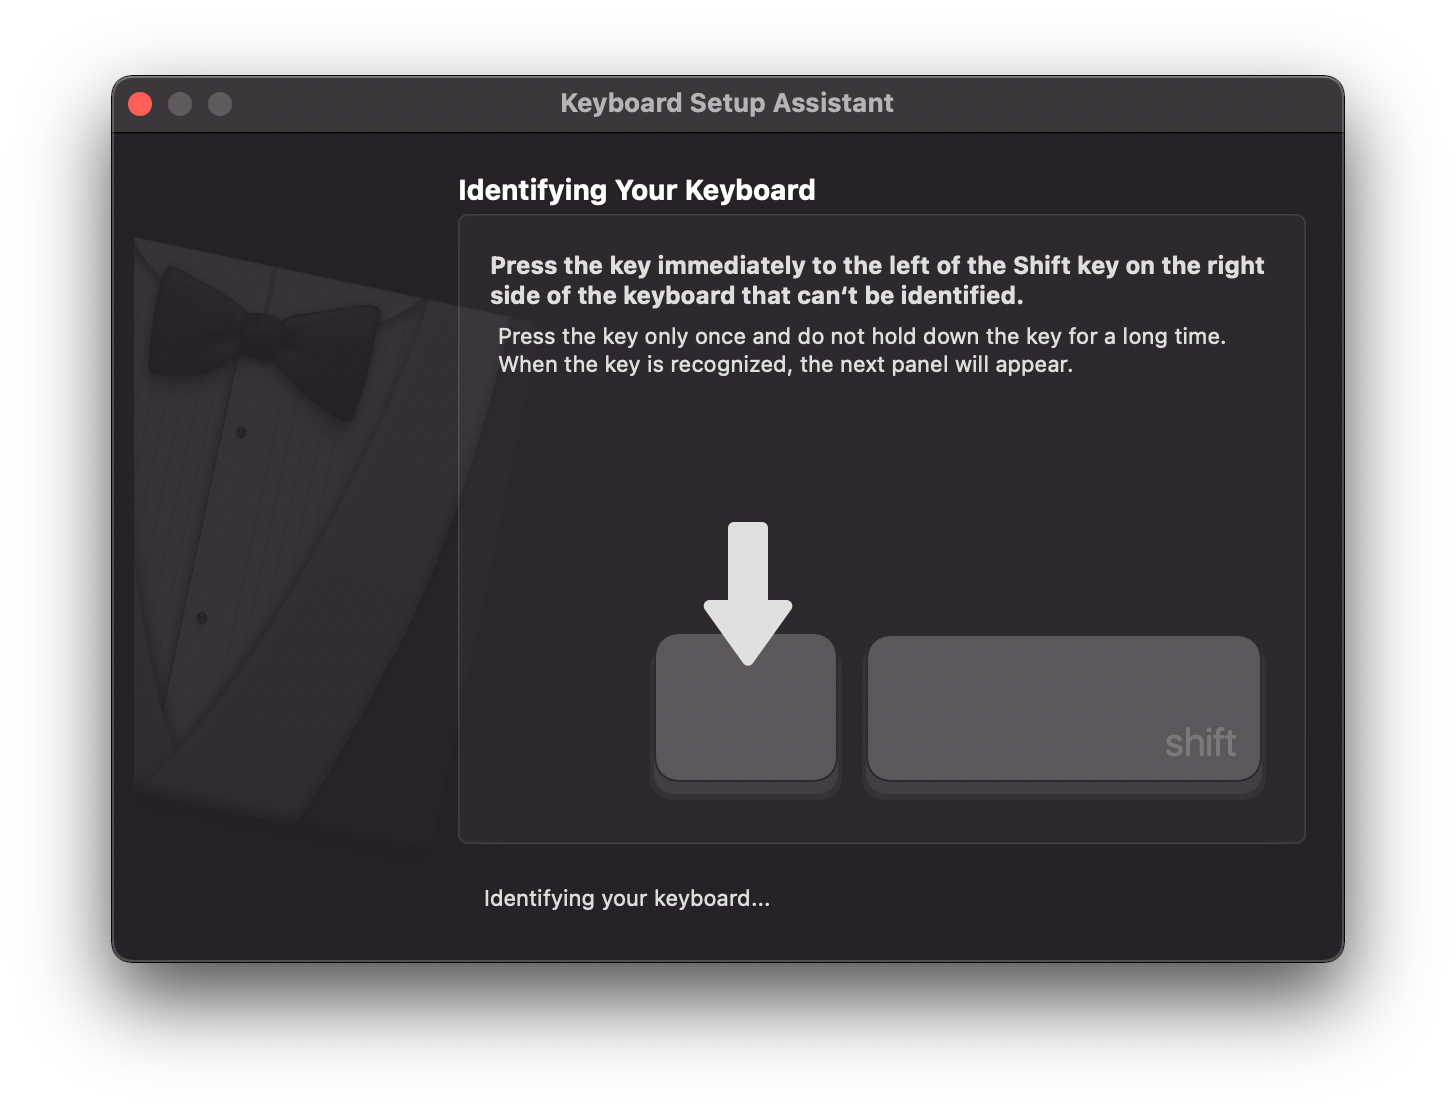
The next thing was not a good sign, however. Upon connecting the board macOS (Big Sur) displayed the Keyboard Setup Assistant. It seems the OS could not recognize the board. I tried to follow the directions of the assistant, but I got stuck when it said to press “the key to the left of the right Shift.” The default layout of the plank has only one Shift key on the right side, so no way of completing that step.
I disregarded the assistant and went instead to test the board online at KeyboardTester.com.

All keys appeared to work as expected, except for 2. Those were the keys assigned to Layers (Raise, and Lower), so I figured that the site simply couldn’t register those.
And that’s it. Success!
First reactions
First of all I am painfully slow. Slower than slow.
Switches
- I like these switches but i might need silent ones if I am going to type with other people in the room and I want to go stealth.
Keycaps
- I love the deep scoop of the Susuwatari caps but it appears that this keyset is meant for an inclined board.
- I feel the edge of the lower row keys digging deep into my thumbnail. It hursts after 20 minutes or typing. I need to figure out a more ergonomic setup for the keys.
- I tried raising the board with a small bumper on the back (1/2 inches). It works but not a long term solution.
- I also tried flipping the space bar keys and it feels much better. I’m actually looking to try the new ice caps that are on order. one single flat profile for all keys sounds nice.
Layout
- Accuracy is much lower on this ortholinear layout. For instance I keep expecting
Nto fall mostly right underJbut it is actually farther than in staggered. Also in staggeredNis closer toJthanM, but in this new ortho layoutMis directly underJ. - I want to move a few keys around.
Spacefor one feels really. far from where my thumb rests. It seems more natural to swap space keys withLower/Raise. - I miss having a right
Shift.Returnis placed where I would expectShiftto be, so I keep adding new lines unintentionally when I’m trying to capitalize. I a better plan for caps (adding a right shift, more centered single shift, tap dance, auto-shift, etc). - I miss having
Returnon my home row. - For some reason it took me forever to find the question mark
?, and I had to consult the manual to find the dash-. I need to rethink all non alpha keys. I need a plan for the missing keys (numbers, special characters, etc). - I also found the arrows in a strange position. The horizontal layout is something I need to get used to. are used in vim. I’ve seen other Planck layouts for the arrows, although I might need to give this a chance.
Final thoughts
I am excited about the promise of comfortable writing, and the idea of being more in control of my typing with less hand movements and without looking down at the keyboard.
Lastly, all this learning a new layout is making me think that this might be the time to try Colemak.
I’m excited to get to know this new Planck.