Getting Started with Love2D and VS Code: A Beginner’s Guide
“Love is life. All, everything that I understand, I understand only because I love.”
—Leo Tolstoy
What is Löve2D
For a few months now I have been playing with Pico-8, a flavor of Lua game programming, which provides a self-contained, minimal developer experience similar to the streamlined Löve2D setup (see Getting Started with Local Development for Pico-8 and VS Code if you want to know more.)
LÖVE is a framework build on top of Lua, used for making 2D games. It is free and open-sourced and focused on coding above all. Unlike more complex gaming frameworks like Unity, Unreal, and Godot, LÖVE is more bare-bones, requiring you to set up your own development environment. I am using VS Code for my projects, including Pico-8 and now for my VS Code configuration for Löve2D.
Here is all you need to get started building games with LÖVE and VS Code.
Setting Up Your Development Environment
Installing Löve2D
Visit https://love2d.org and download LOVE for your platform. For macOS download the corresponding zip file, unzip it, and move the file love.app to the Applications folder.
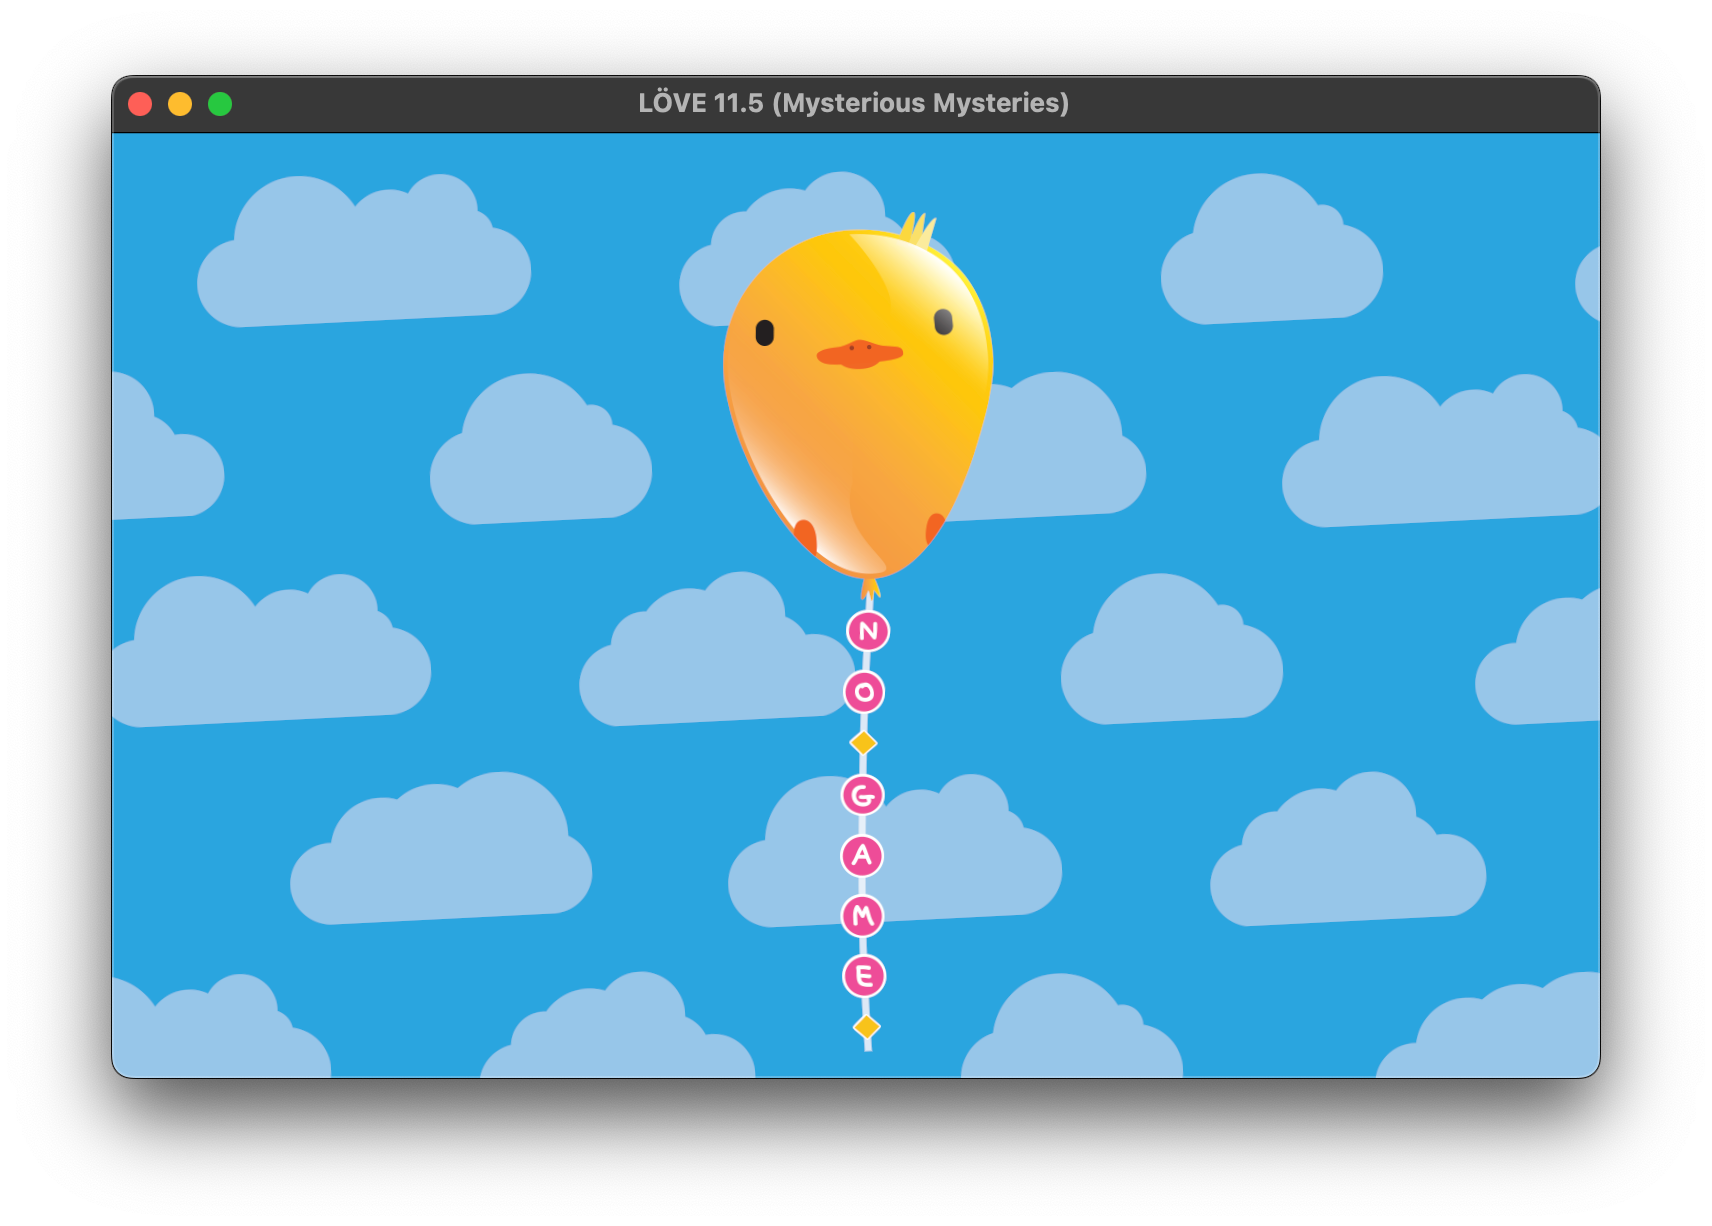
Double click the app and you should see a window with a welcome animation. (See “Issues and Troubleshooting” below if you run into problems on macOS)
Next you want to make LOVE accessible through the terminal. Start by creating an alias to the app via in your shell configuration file. I use Zsh so I need to edit ~/.zshrc.
You can open the file with VS Code in the command line via:
code ~/.zshrcAdd the following line to the file:
alias love="/Applications/love.app/Contents/MacOS/love"You can now also open love by typing love in the terminal window. You might get a warning or an error stating LOVE “cannot load game”. This is expected and will address that next.
You can read detailed instructions here: https://love2d.org/wiki/Getting_Started
Creating Your First Löve2D Project
Create a folder for your project and create a file main.lua inside of it. Try this for starters as the content of this file:
function love.draw()
    love.graphics.print("Hello World!")
end
Open terminal in your project folder from within VS Code (Terminal/New Terminal) and run your app by calling love with the project folder as an argument.
love .This will instruct love to run the code inside the folder, starting by loading main.lua.
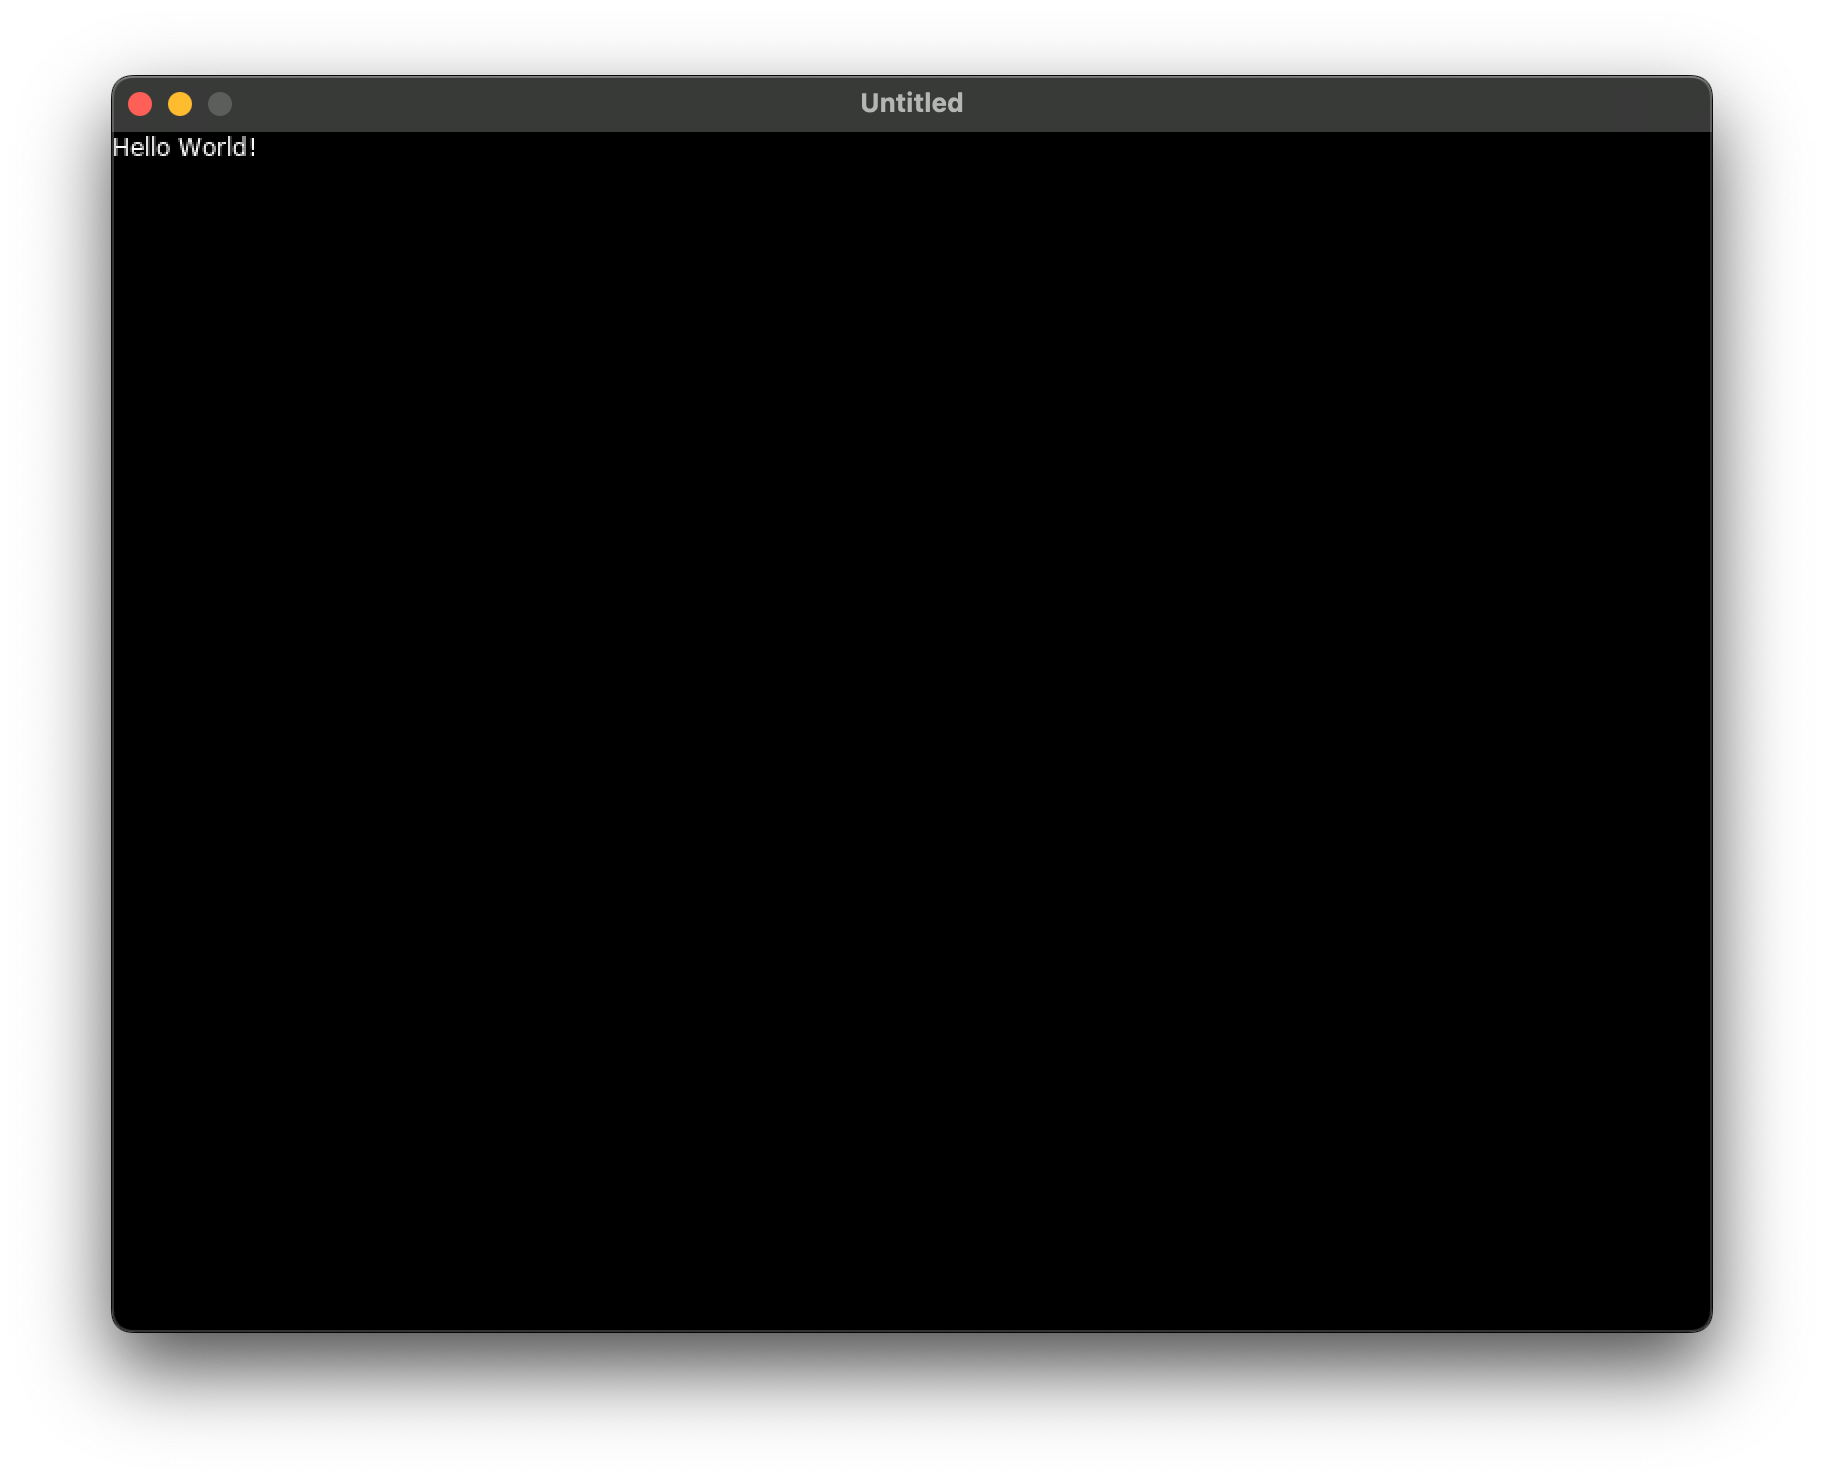
Congrats, your setup is done!
Configuring VS Code for Löve2D
VS Code can be best configured for workgin with Löve2D with the help of two extensions. Keyslam’s Appendix B: Setting up a minimal project yourself and Sheepolution’s Learn how to make games with LÖVE - VS Code were fantastic resources when looking at viable extensions.
Start by installing these extensions for VS Code:
You need to create a folder named .vscode in your workspace(the same location as your main.lua.). To configure these two extensions copy the following configuration inside the settings.json file:
// .vscode/settings.json
{
 "Lua.runtime.version": "LuaJIT",
 "Lua.workspace.checkThirdParty": false,
 "lua-local.interpreter": "LuaJIT"
}
Next, also inside your .vscode folder, and create a file named launch.json. Copy the following contents inside this file (See more information here:
//.vscode/launch.json
{
    "version": "0.2.0",
    "configurations": [
        {
            "name": "Debug Love",
            "type": "lua-local",
            "request": "launch",
            "program": {
                "command": "love"
            },
            "args": [".", "debug"],
            "scriptRoots": [".", "src"]
        },
        {
        "name": "Release Love",
        "type": "lua-local",
        "request": "launch",
        "program": {
            "command": "love"
        },
        "args": ["."]
        },
    ]
}
In my case I run into an error in the debug console:
/bin/sh: love: command not found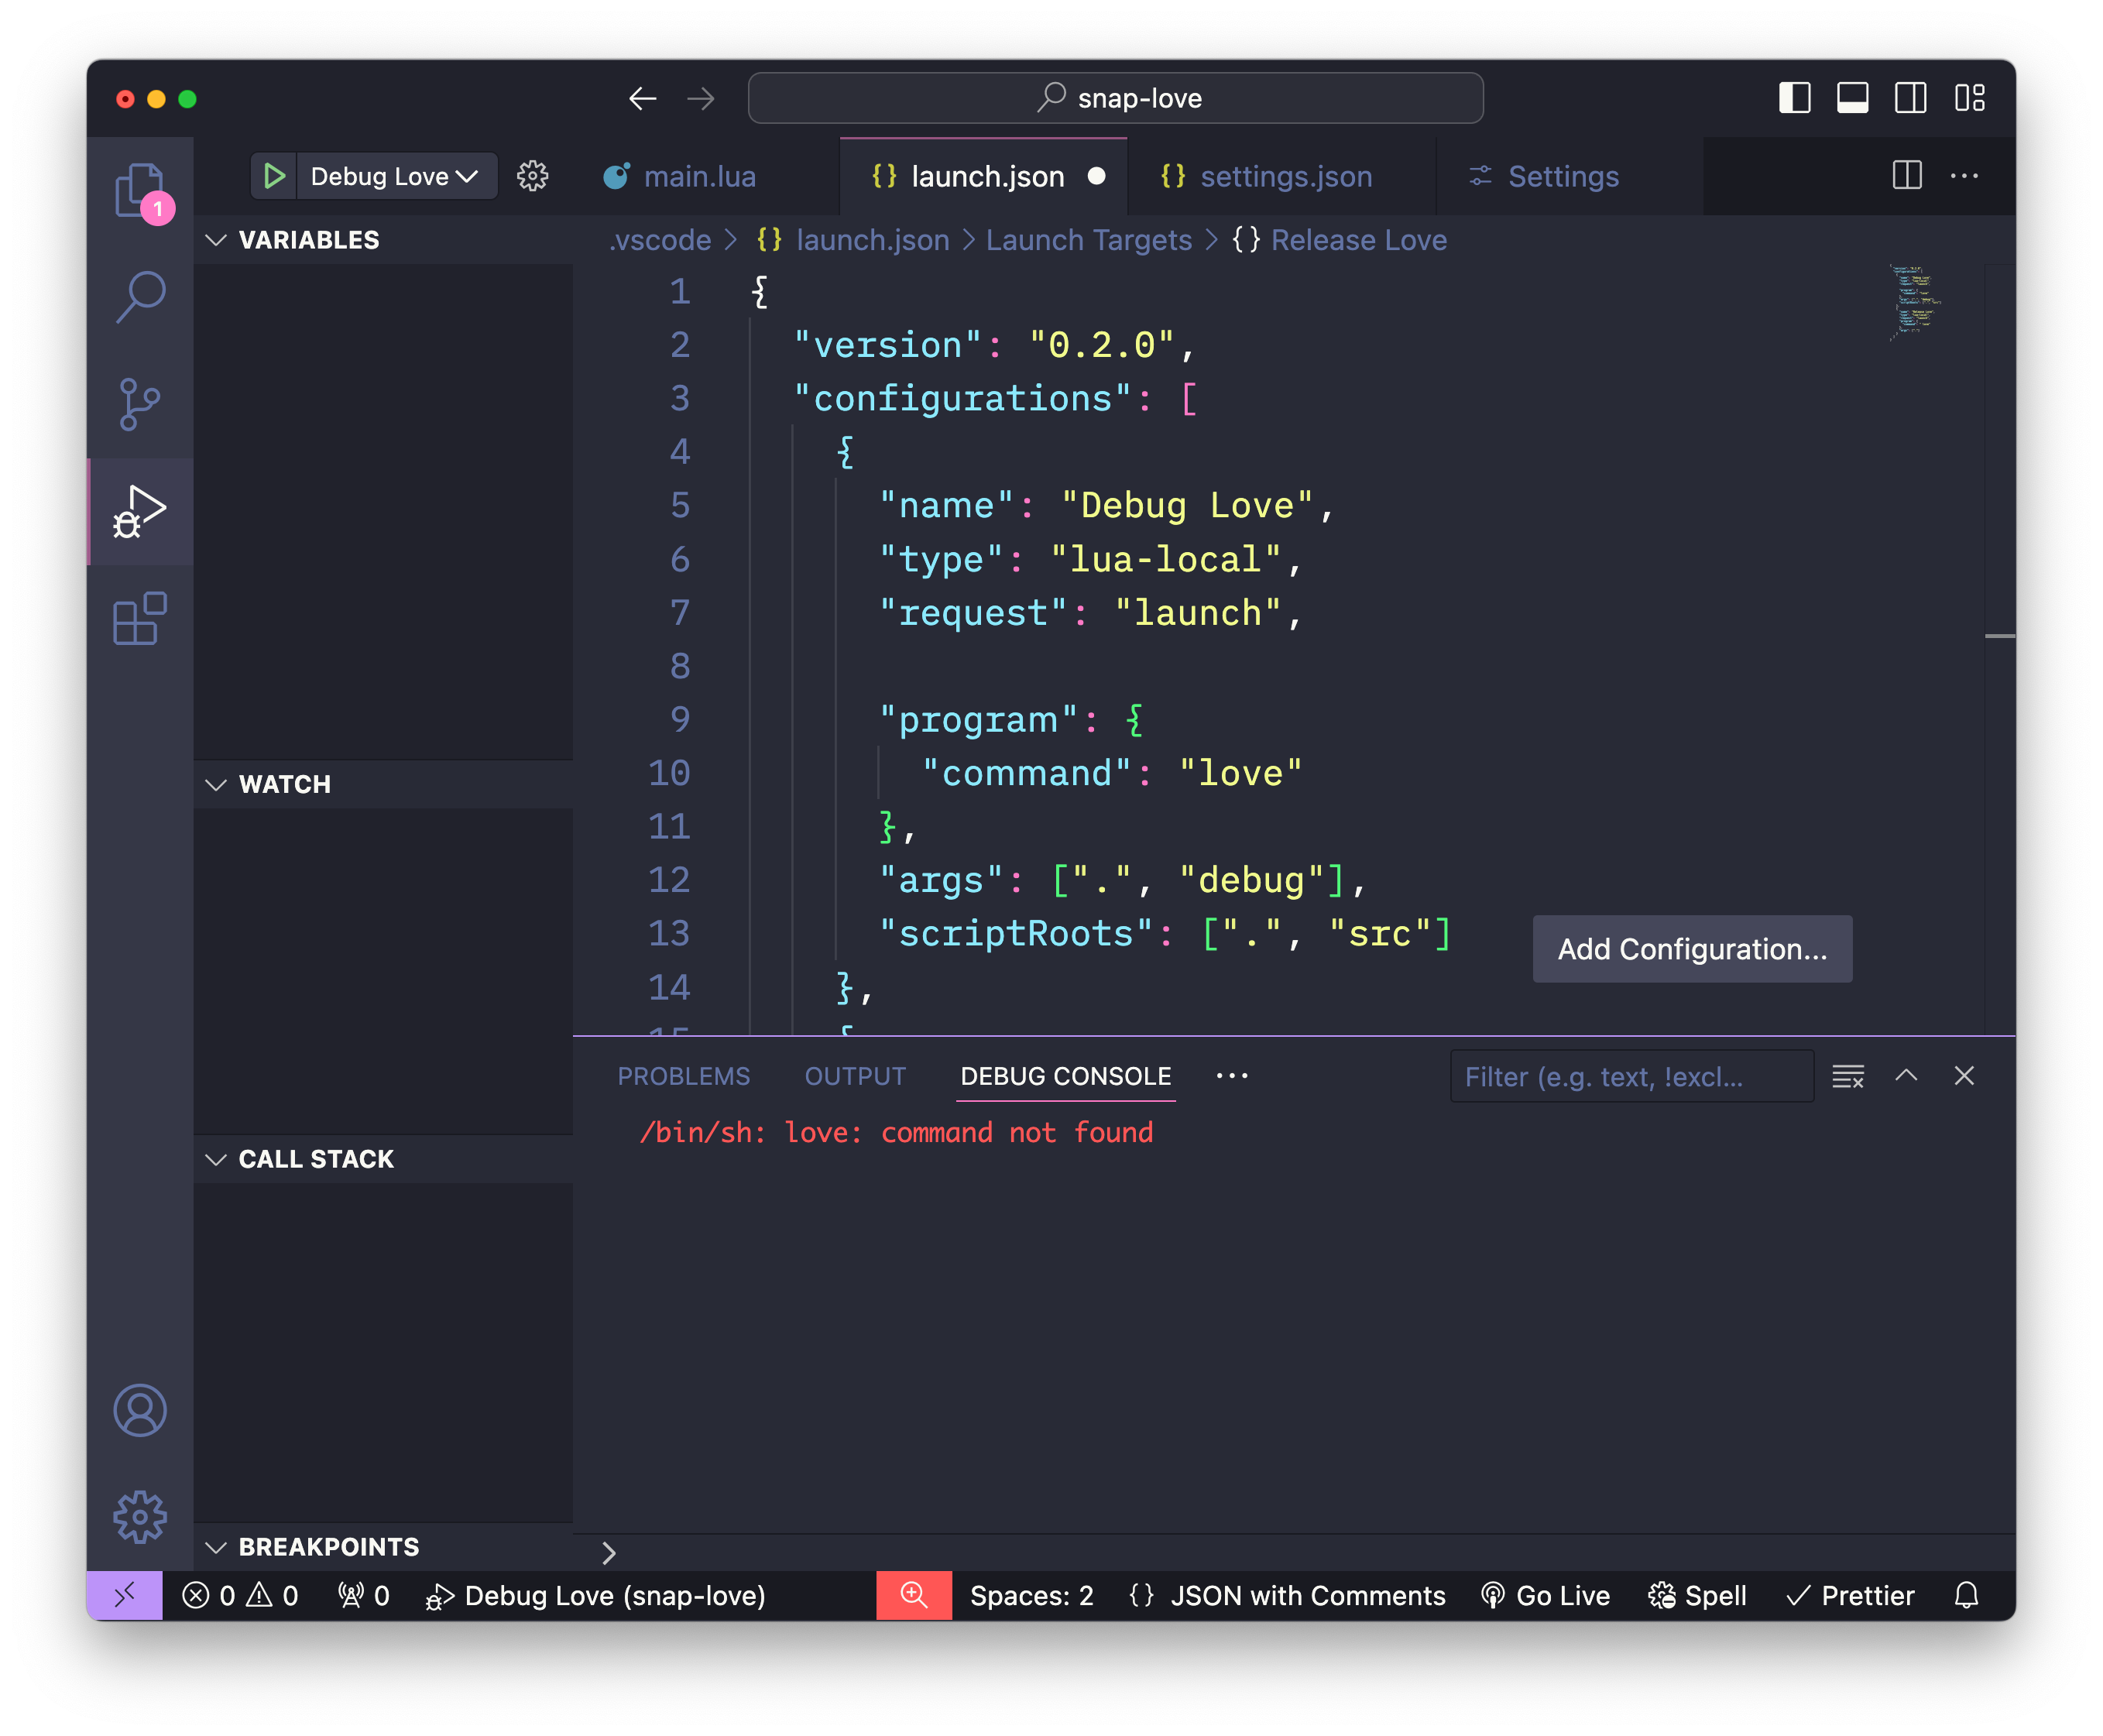
I was able to solve this by replacing
"command": "love"with
"command": "/Applications/love.app/Contents/MacOS/love"Running and Testing Your Project
My preferred way is to open the terminal within VS Code and simply type love .
Alternatively you can install Pixelbyte Studios’s VS Code extension Love2D Support, and use the shortcut Cmd+L to launch the project directly while editing your lua files.
Remember to set the path to love in the extensions settings. In my case /Applications/love.app/Contents/MacOS/love.
Debugging Your Löve2D Game
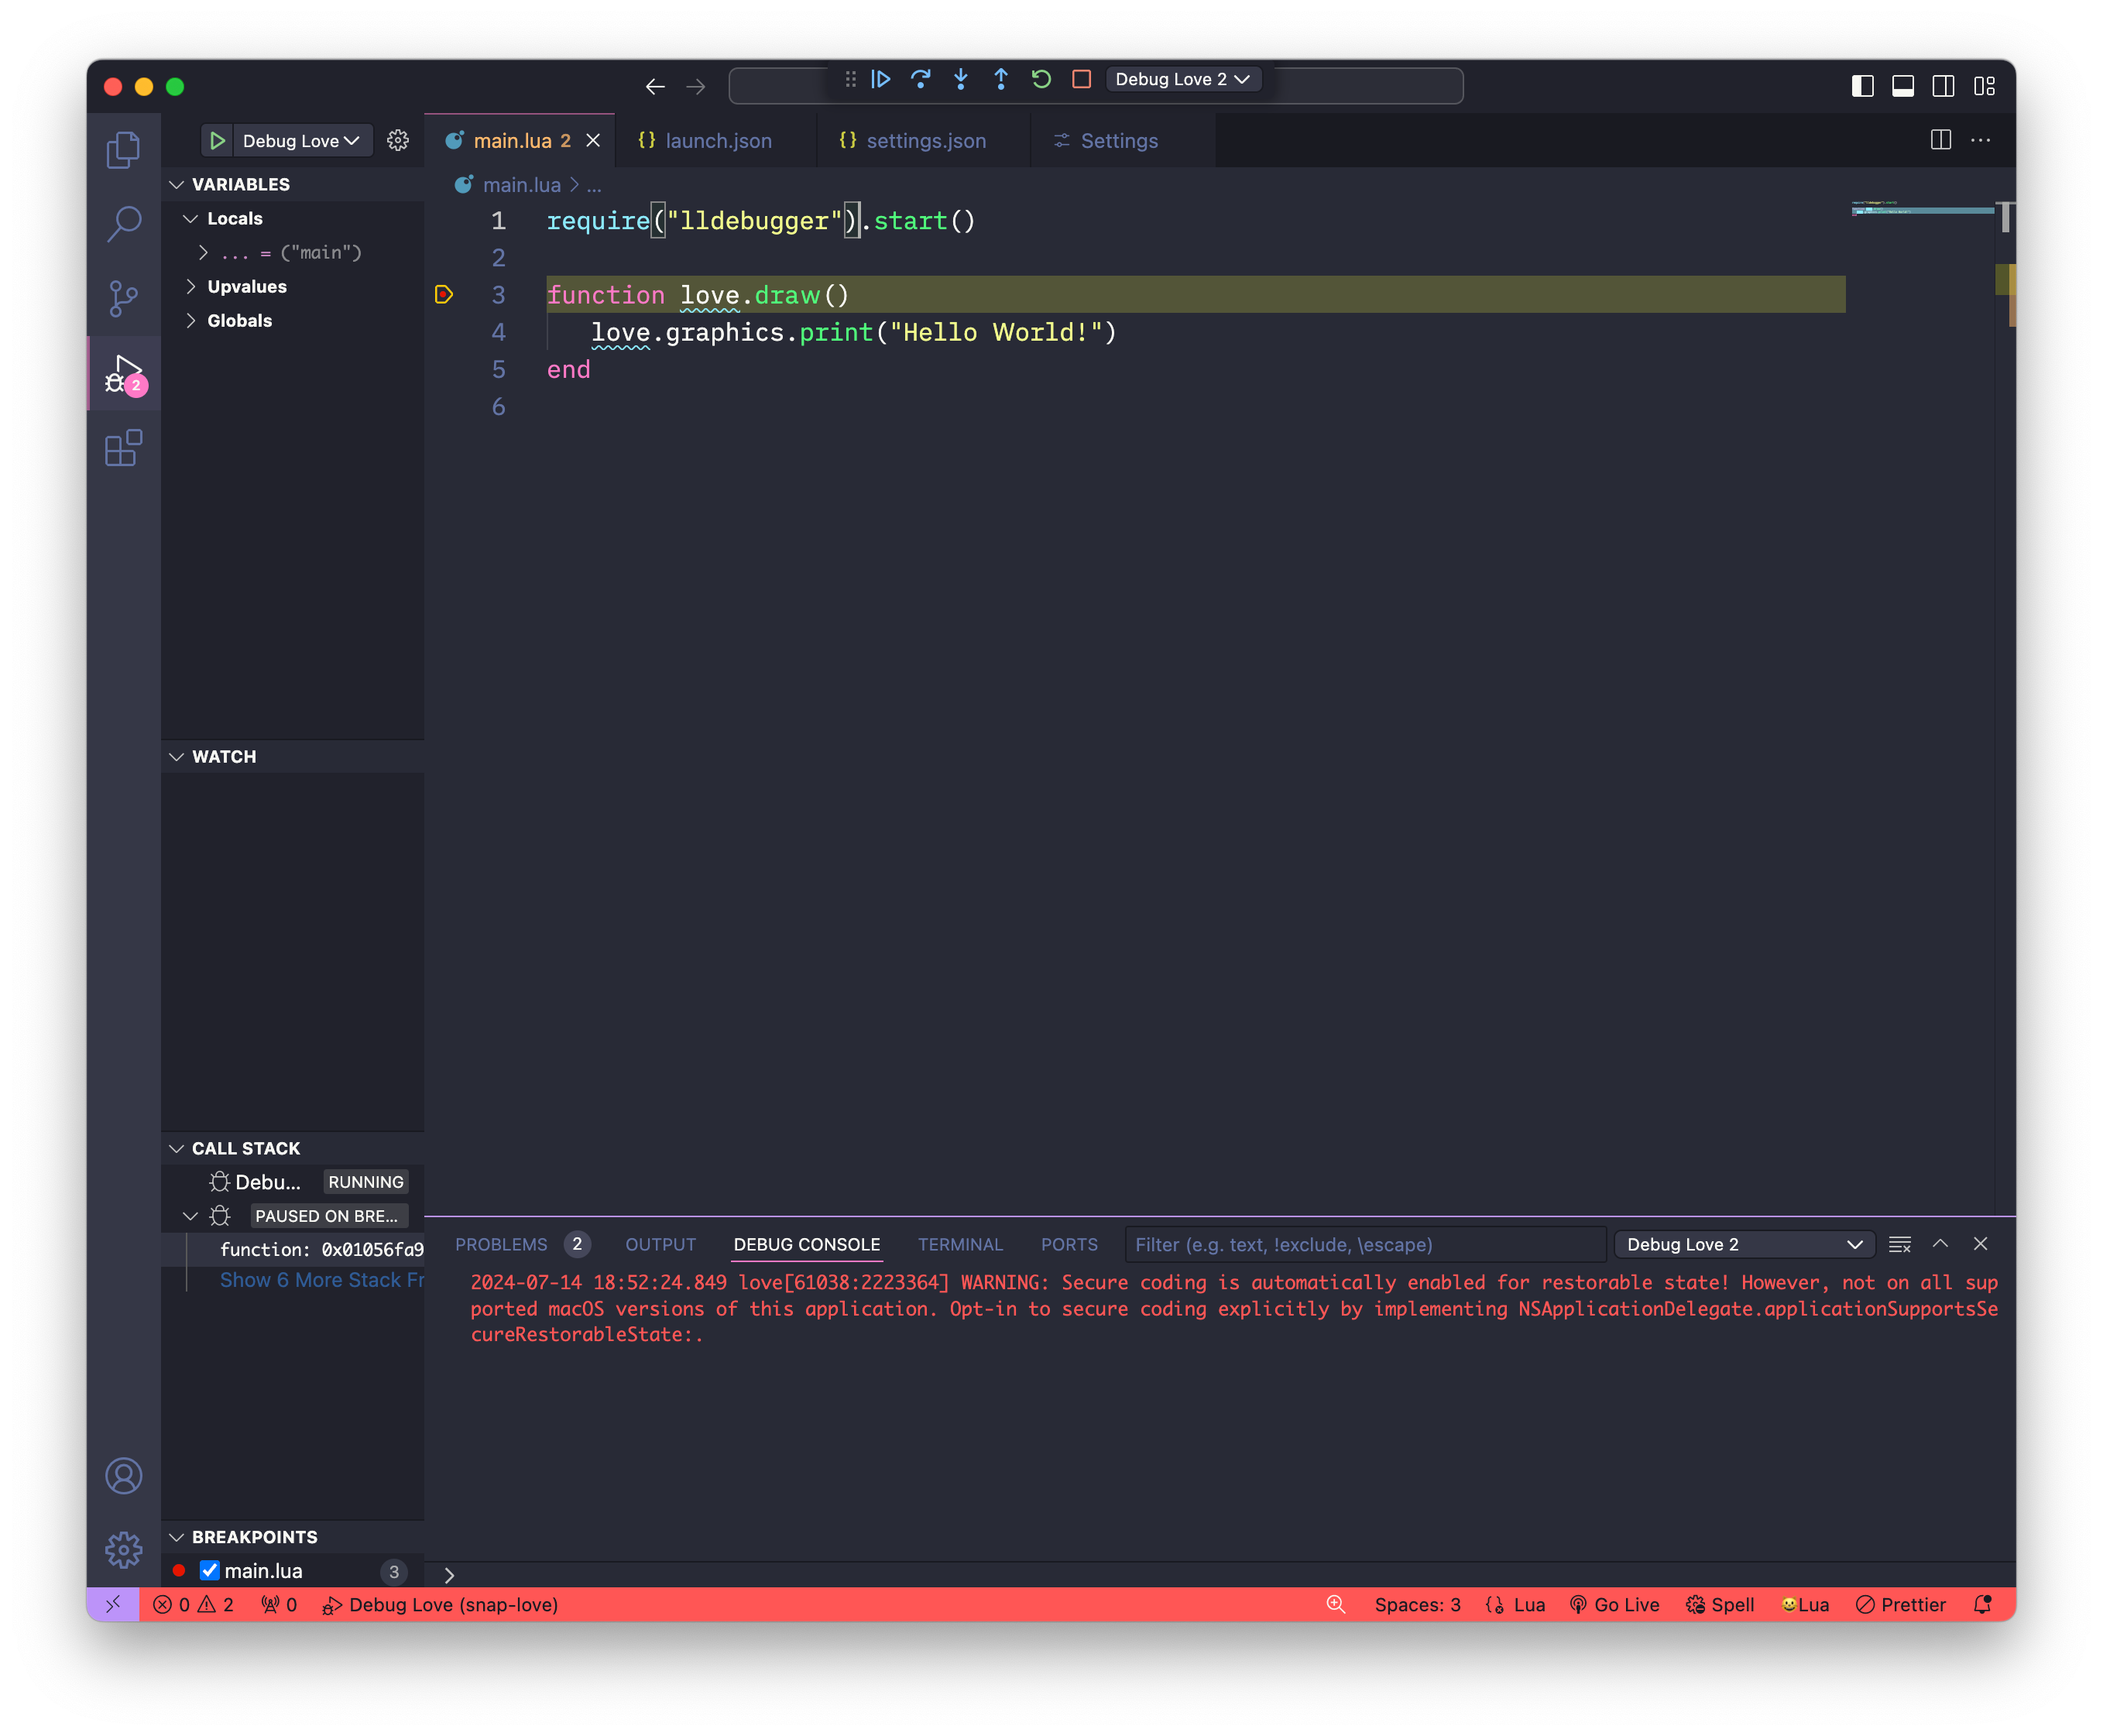
You will need to execute the following code in your main.lua
require("lldebugger") .start()Remember to remove that code when you ship your game. Alternatively Sheepolution suggests you use instead:
if arg[2] == "debug" then
    require("lldebugger").start()
end
Which will work as long as you did include these lines in your launch.json as instructed above.
"args": [".", "debug"],Now you can run your game with F5 (debugging) or Ctrl+F5 (no debugging).
Enhancing Your Workflow with VS Code Extensions
I recommend using a code formatting extension. The most up to date seems to be StyLua by JohnnyMorganz, which works fine for me at the time of writing this.
Download the extension here: https://marketplace.visualstudio.com/items?itemName=JohnnyMorganz.stylua
After you have it installed you need to add the following lines to your settings.json file to activate it
"[lua]": {
 "editor.defaultFormatter": "JohnnyMorganz.stylua"
}
Common Issues and Troubleshooting
On macOS you might get an error message after you double click the app asking you to confirm it can run correctly. It might read something like this “love.app” cannot be opened because the developer cannot be verified.". To solve this you will have to override the security settings.
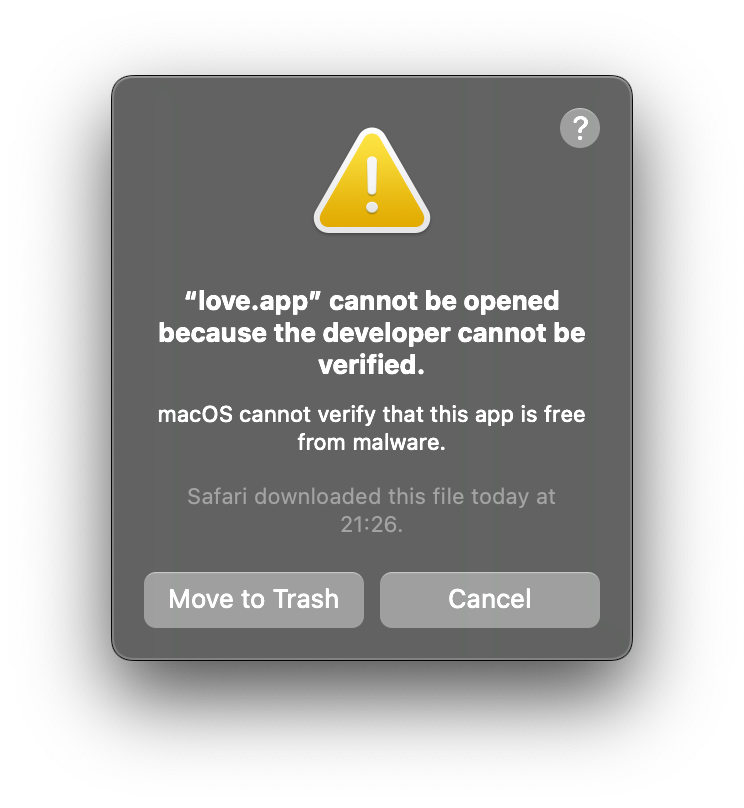
Simply right-click the app file, select “Open” and confirm your choice in the dialog.
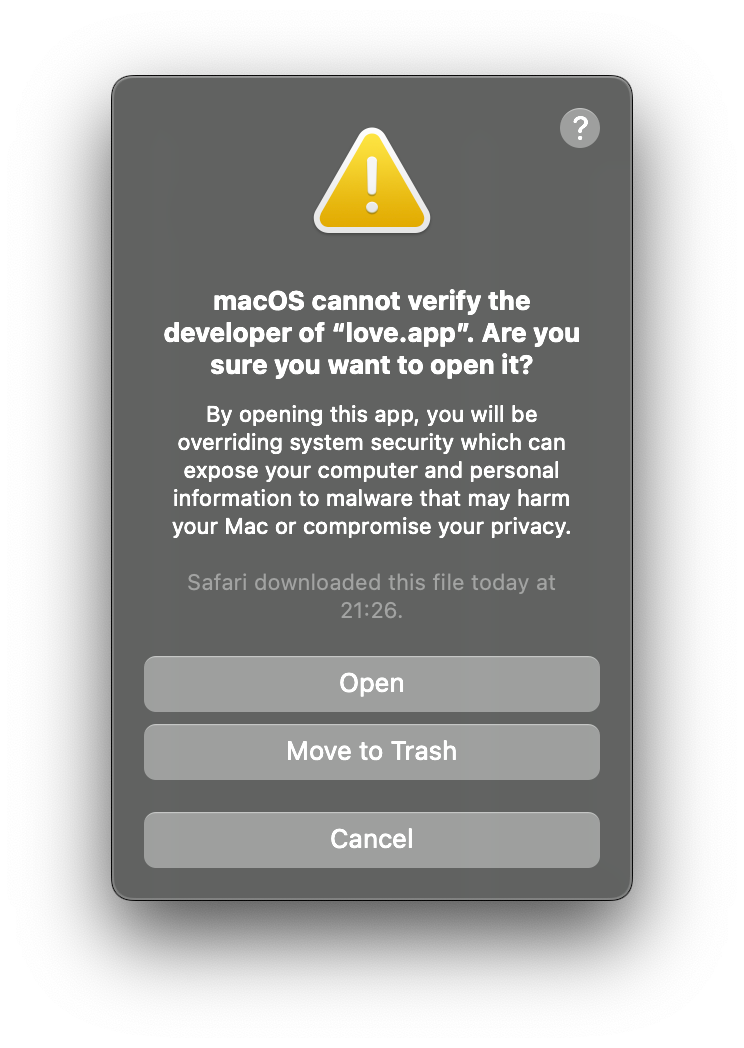
If all went well you will now see the welcome window.
And that’s it. Congrats and happy coding! <3
“All you need is love.”
— John Lennon
Resources
- Wiki: love2d.org/wiki
- Sheepolution’s notes from Learn how to make games with LÖVE on Visual Studio Code
- Keyslam’s LOVE-VSCode-Game-Template, “a fully configured VSCode template for LOVE.”